

 German
 French
 Spanish
Learn how to ride a horse – Part I
By: Pablo Imberti Posted: 25/02/2020
6 Principles to learn to ride a horse
Learning to ride a horse is something wonderful and once you bond with a horse and discover the passion of horses riding, especially in the countryside, you will never give it up. All the same, there are a few things you need to understand first.
Riding a horse is a physical activity and our body needs to learn how to ride, how to be and move on a moving horse’s back.
This cannot be learnt by watching TV or reading a book, even though there is some very good written or filmed material that should be taken into consideration to refresh your technique.
What is important here is practice so as to improve your technique but without any exhausting rigour? Try getting a satisfying feeling instead, as your riding technique keeps getting better and better.
There is a great pleasure when you can feel that you are moving harmoniously with your horse, in a comfortable and safe way.
In order to learn the riding techniques it is important that somebody teaches us and that that person is a duly qualified riding instructor, who you can find in the different equestrian centres. After watching our riding techniques, they will guide and correct us so we don´t develop and reinforce wrong movements and positions, which once assimilated are very difficult to do away with.
Many of us learnt to ride when we were children, maybe in the countryside, by watching other riders, and we ended up riding in an acceptable way. But this way of learning will only give us the ability to ride intuitively, without knowing that we can benefit more from the man-horse dyad, if a trained person teaches us.
Story about Don Álvaro
Once, Don Álvaro Domecq Díez, an extraordinary Spanish rider and “rejoneador”, was being observed by a member of the audience who, after seeing Don Álvaro make all kinds of accurate movements with his horse, asked him:
- Don Álvaro, how do you ride that horse so well?
- And he replied “If you want to know how I do it, watch my hands and legs closely”.
After the show, the man told Don Álvaro:
- I did what you told me to do – I watched your hands and legs attentively but I didn’t see anything.
- Don Álvaro answered “Then, I am doing things well”.
“When the riding skill reaches its highest expression because of talent and practice, the signals that the rider gives cannot be perceived by the eye.”
Horse riding provides physical, mental and emotional benefits
Physical – because when you ride a horse, as when you ride a bicycle, you have to move a number of muscles to keep the balance and move together with the horse.
Mental - because riding a horse is learning all the time and there is scientific proof that shows that a brain involved in a continuous learning process creates many more neural connections which, among others, help keep our memory.
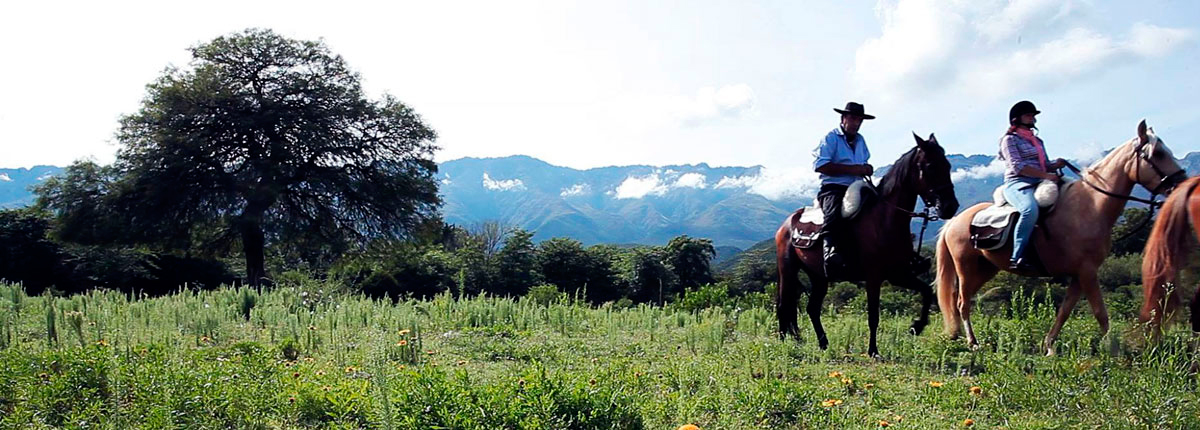
Emotional - because the connection and insight needed to guide a horse bring us closer to nature, especially if we ride in natural environments, and the peaceful feeling you experience will make you feel relaxed and forget about everyday city stress.
In order to approach and ride a horse correctly, you have to take into account the following 6 basic items.
This is the first topic of the two we are posting. In both parts of this post, the topics will be discussed at an informative level. It is also important to mention that, each of these 6 items will be developed at a very basic level, as an introduction for those who would like to know how to get started on horse riding and, as we said before, the importance of having somebody teach us to ride.
Would you like to be part of a group with an equestrian soul?
Join the Ampascachi Community. Obtain exclusive benefits for your holidays.
We tell you how to start, train and take care of your horse.
Interviews with direct providers of riding tours around the world.
Opinions of outstanding equine scientists and personalities in the equestrian sport world.
1. BEFORE GETTINS STARTED ON HORSE RIDING
Before you start riding, you will need to learn to bond with the horse and, for that reason, you have to know how to catch your horse if it is in the fields, how to tie it, how to make it walk by your side pulling a rope, how to clean and groom it for riding.
All this will enhance your experience and improve your safety in everything you do in connection with your horse, especially when you are riding the horse, alone or with a group of riders.
Catching the horse
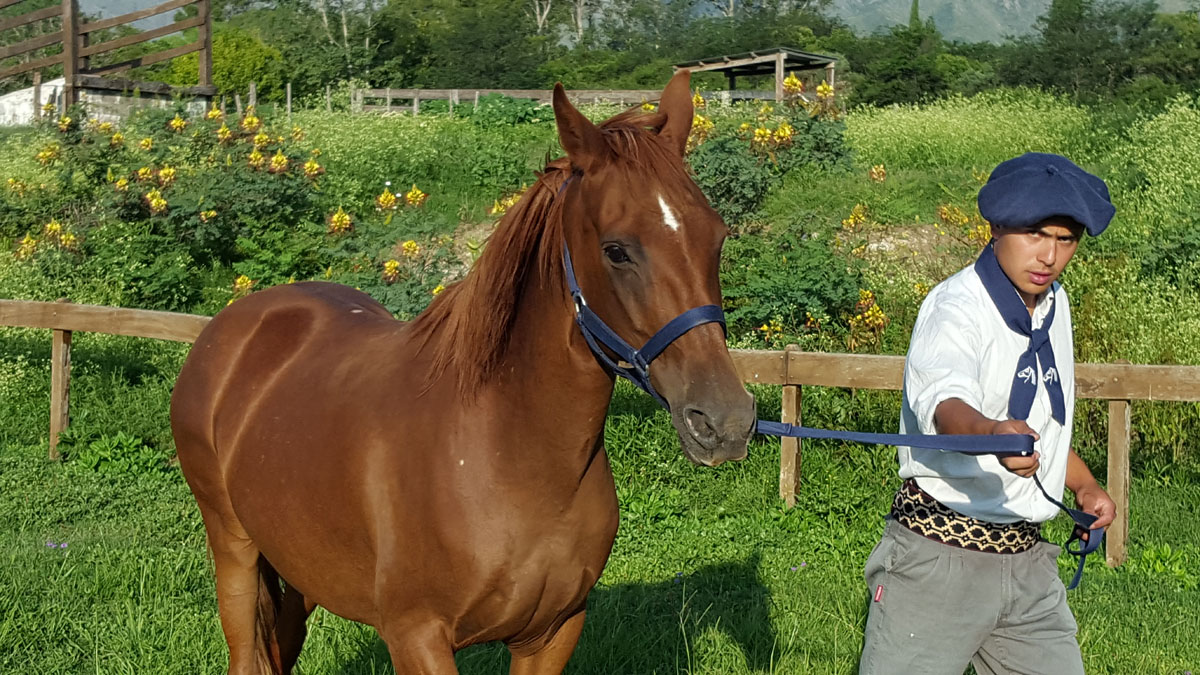
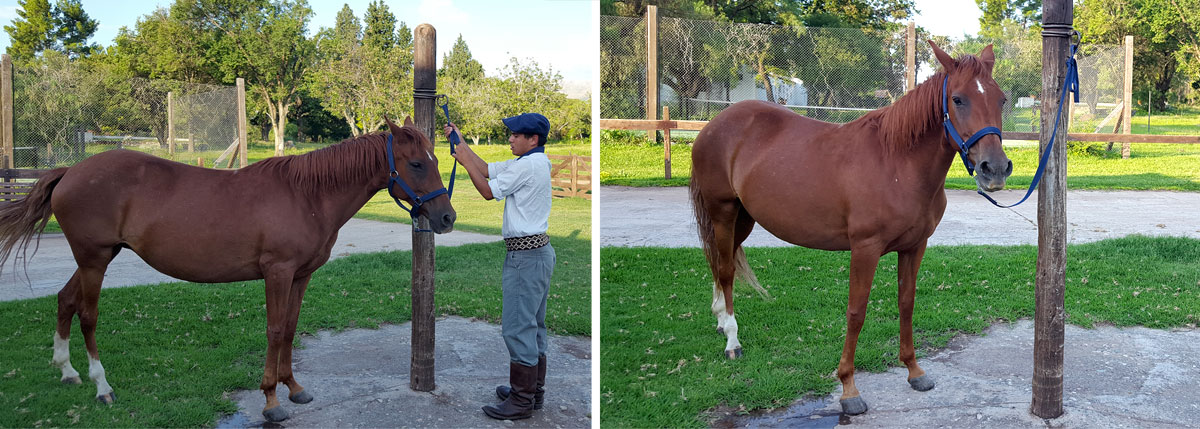
In order to catch a horse in the field it is important to approach him with an indifferent attitude as if you were just passing by, from a side and not head-on. Take a bridle and a catch rope with you, and approach the horse in a gentle but determined way. Once you are near, start touching his neck so as to pass the bridle rope around the neck and then, put the bridle on to lead the horse.
If the horse moves away, let him do so and don’t run or shout. Approach again patiently until he gives in.
If things get more complicated, you can try giving him something he likes, such as treats or grains. In that way, when the horse sees you carrying a treat bag will come to you on his own initiative and there you can catch him. Of course, it takes practice, like all things related to horses.
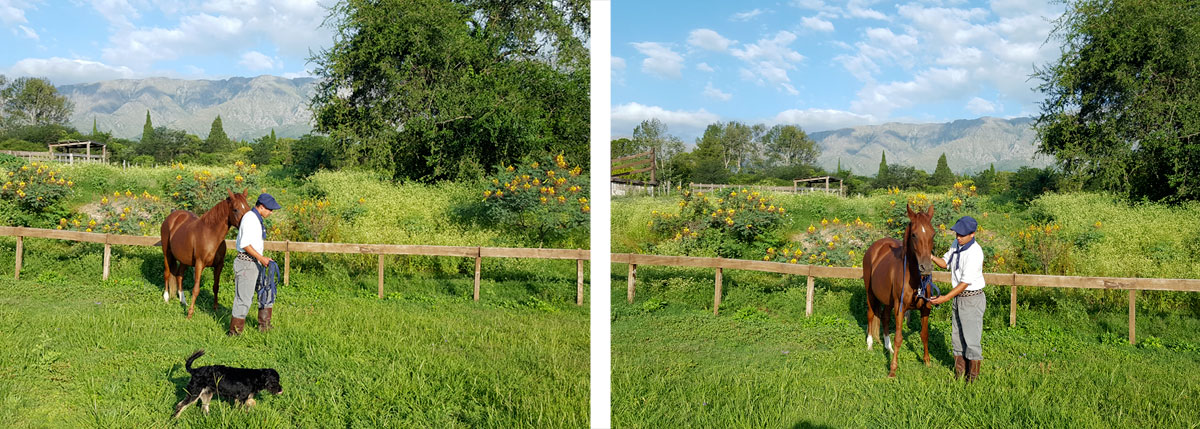
Leading the horse with a rope
Once you have caught your horse and you are holding the rope tied to the lower part of the halter or bridle, you need to learn the first tasks to get the horse to walk by your side without pulling him. So, we begin to learn to do this and, even though it is easy, we must do it well.
To do that, you will start by applying one of the principles of the learning theory – “Horses receive a stimulus through pressure and they will try to free themselves from it. For that reason, they will react in a way that is expected”. For example, they can start walking by your side.
If that happens, you will lessen the pressure and, in this way, by practicing this technique that is, of course, taught by an instructor in detail, the horse will start walking by your side just by pulling the rope tied to the halter or the bridle.
Tying the horse up
Once you make your horse walk by your side, you have to be able to tie him to a fixed point, whether for cleaning or saddling up.
To tie the horse up, you will use the same rope you hooked on the bridle or the halter. You must tie it up to a very solid place high enough so the rope doesn’t hang and the horse doesn’t step on it. You shouldn’t place it too high either because it could limit the movements of the horse’s head.
Some people recommend not tying a solid knot, because in case the horse gets scared and panics, for whatever reason, it can free itself just by pulling.
In Ampascachi, we always recommend solid and correct knots, to prevent guides and horses from being injured. In that way, horses will not be able to break free from the rope and try to run away, which can work against our efforts to control their behaviour.
In order to explain and justify our opinion, we should go into detail and discuss the learning theory further, but that is not the scope of this post. But it is important to say that our opinion is based on science, practice and experience.
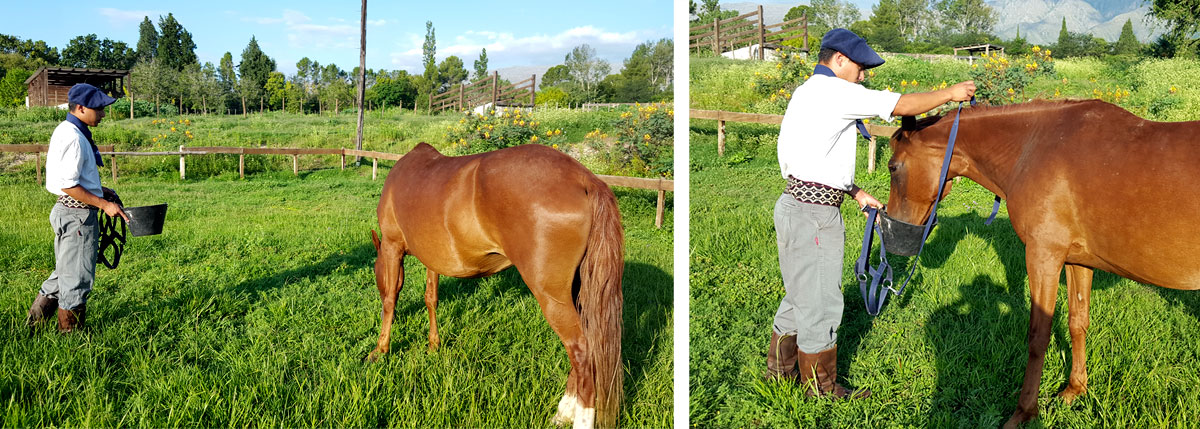
Grooming your horse
Before saddling up, you need to prepare your horse by cleaning its body and hooves. This activity will allow you to strengthen your bonds with your horse and check for injuries or pains.
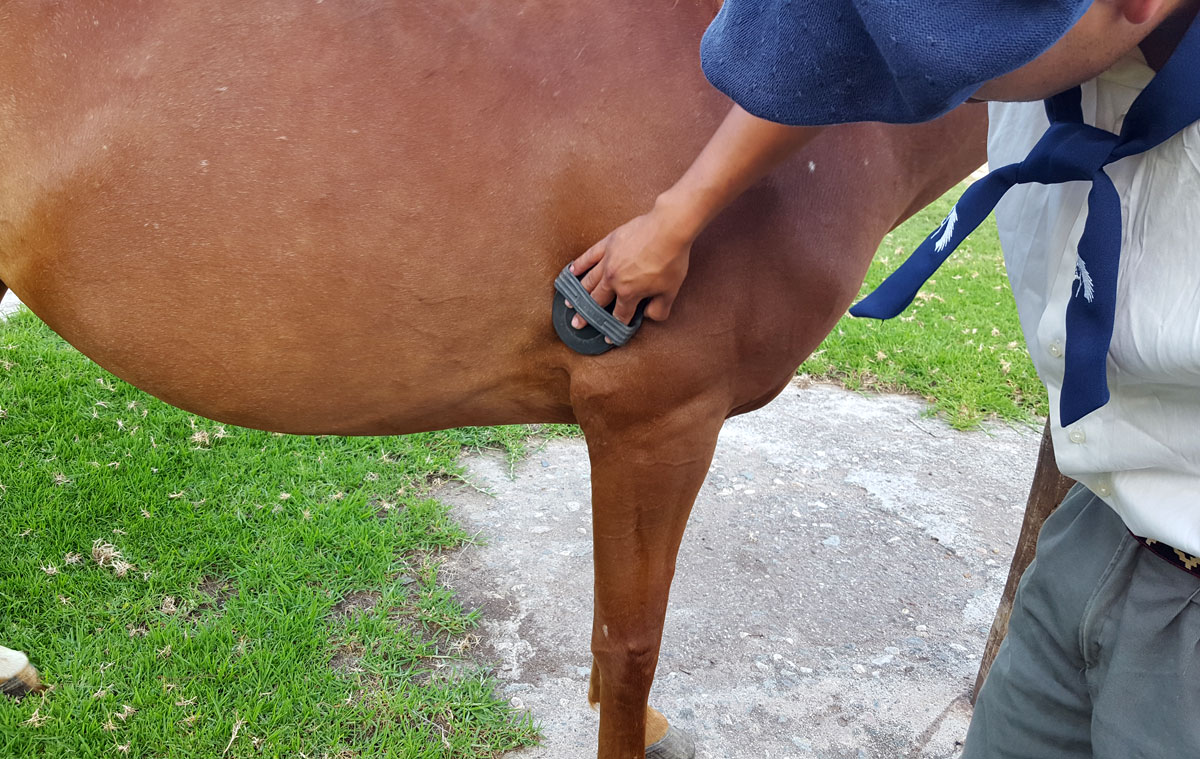
You will start by cleaning dirt and sand off of your horse’s body. You can use a curry comb, a plastic one if possible, to help you scrape off and remove the grime from the skin.
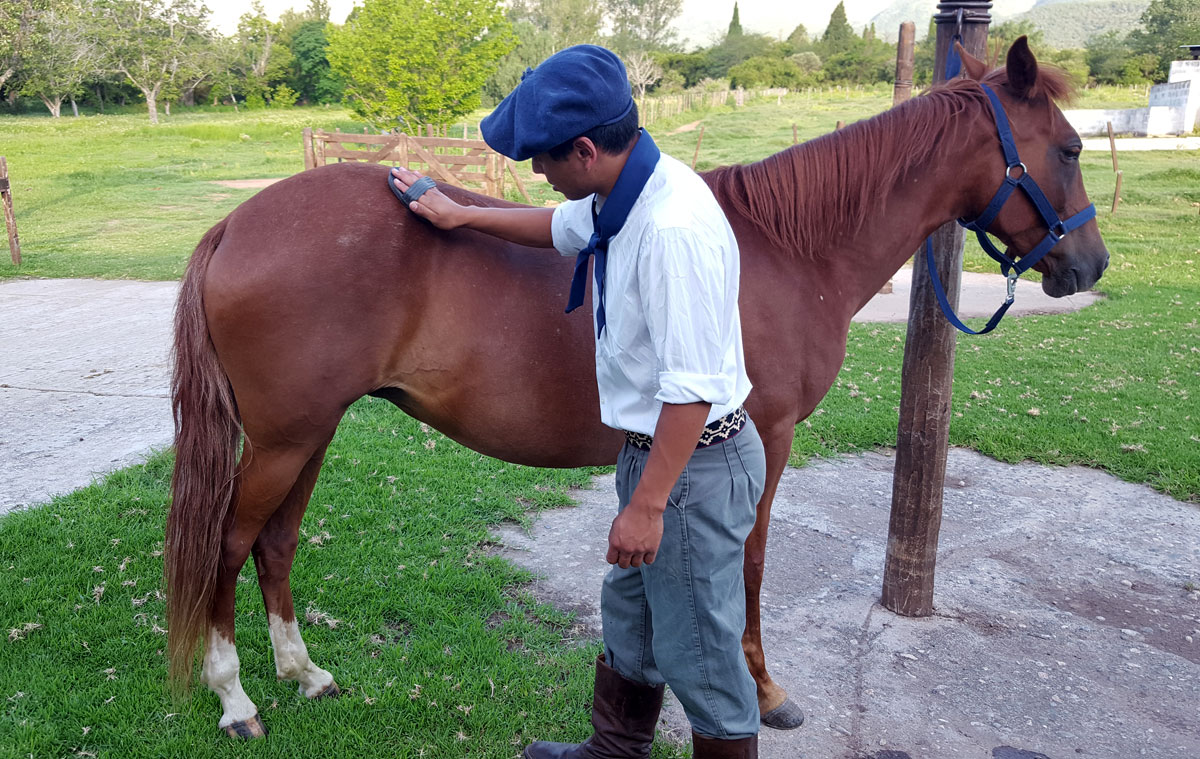
Be careful with those parts where bones are more prominent and with limbs. Here it is advisable to use a body brush softer then the curry comb. Finally, remove the remaining dust with a bristle brush.
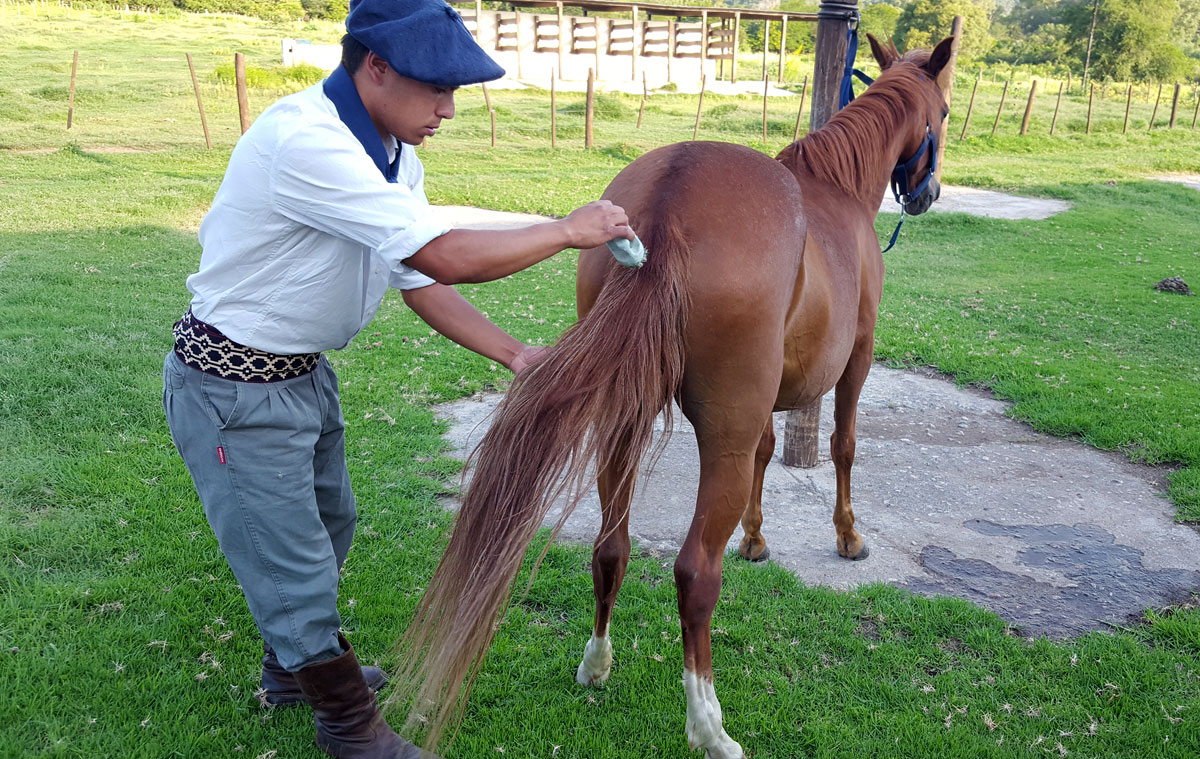
Next, you will use a special brush to untangle your horse’s mane and tail. This is a bottom-up process – that is to say, start where the tail or the mane are less thick. After that, your horse will look extraordinary.
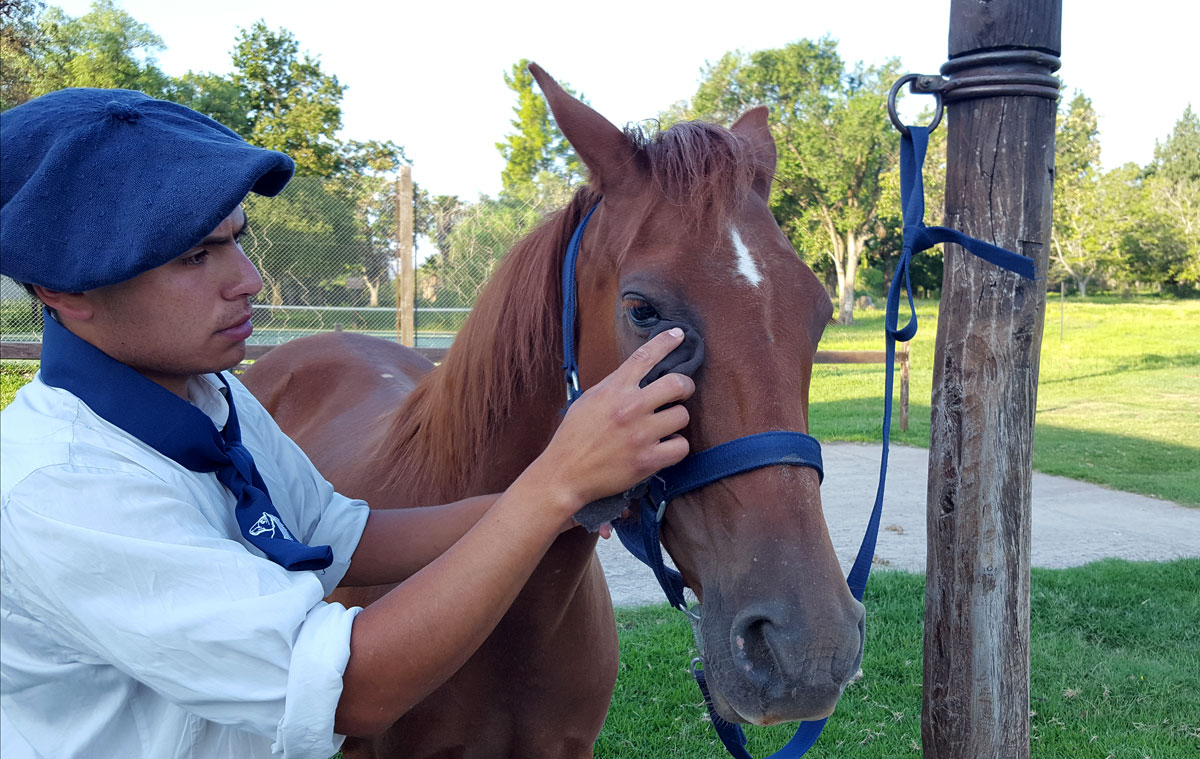
After that overall cleaning, we can begin to use a wet sponge or cloth for those sensitive areas, such as the ears, checking there is nothing inside them, or those areas near the eyes, which should be also checked to make sure the eyes don’t look watery, red or swollen.
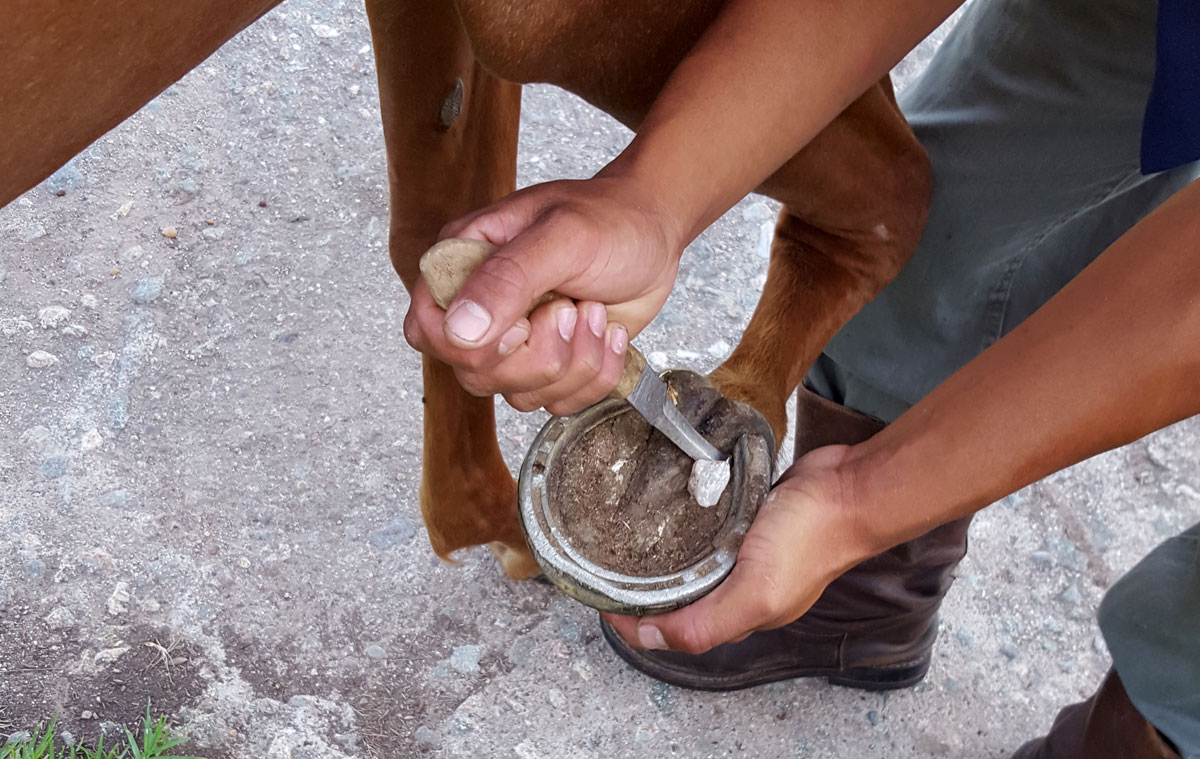
Finally, we should lift each hoof to clean it and remove the dirt or pebbles that may be stuck in and will hamper the horse’s walking.
If you want, you can also apply specific polishes or oils for hooves that will not only bring out their colour but also protect them and help them keep their humidity level.
This is a little controversial, since horses in nature don’t have those oils or ointments, and their hooves are healthy. The problem is that you are altering the natural state and this is hard to control.
In Ampascachi, we believe that those ointments are only used for aesthetic purposes and that is why we don’t use them, unless there is a particular condition or a treatment prescribed by a veterinarian or a farrier.
Subscribe to the Ampascachi Community and obtain benefits and exclusive content. Furthermore, we offer free advice on horses and equestrian tourism.
2. SADDLING AND BRIDLE
You have already caught your horse, you have led him to the place where you tied him up and you have groomed him. Now, what is left is putting the saddle and the bridle on before riding.
The saddle
There are many types of saddles and bridles. The most popular ones are perhaps the English saddle and the Western saddle (used by American western cowboys), but there are some more – the Spanish one, the Portuguese one and, in South America, the Peruvian saddle and the Argentine recado, among others.
The way you place the saddle onto the horse’s back must be correct to make sure it doesn’t hurt the horse’s back and to avoid accidents.
As we said before, even though saddling and bridling are not difficult, it is important to have somebody show you how to perform these tasks. After the first time, you will get used to it quickly and gain practical experience.
Saddles, of any kind, are always a set that includes the following parts.
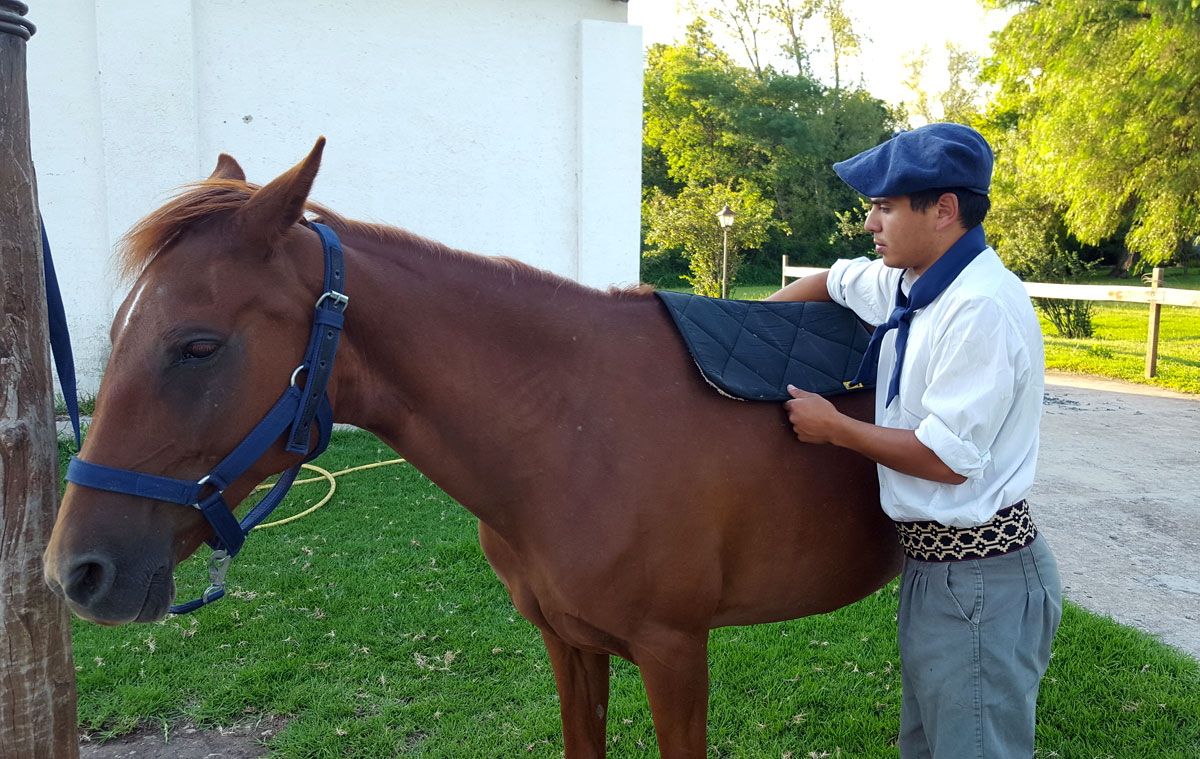
1. The saddle pad or blanket is a pad or fabric that is placed directly on the horse’s back to cushion the saddle (Remember that the horse’s back must be perfectly clean, without any dirt or sand). There are different types of pads, but they are all used to cushion the saddle on the muscles of the horse’s back to avoid rubbing that might hurt the horse, and to absorb sweat. Depending on its material and shape, pads can be thicker or thinner.
2. The saddle itself can be made of leather wrapped around a wooden structure. Now, wood is replaced by other materials that are lighter and more malleable. Saddles must leave the horse’s spine free and cannot be in contact with that area, particularly where riders sit. This is important to avoid rubbing and hematomas since it isn’t a much muscled area.
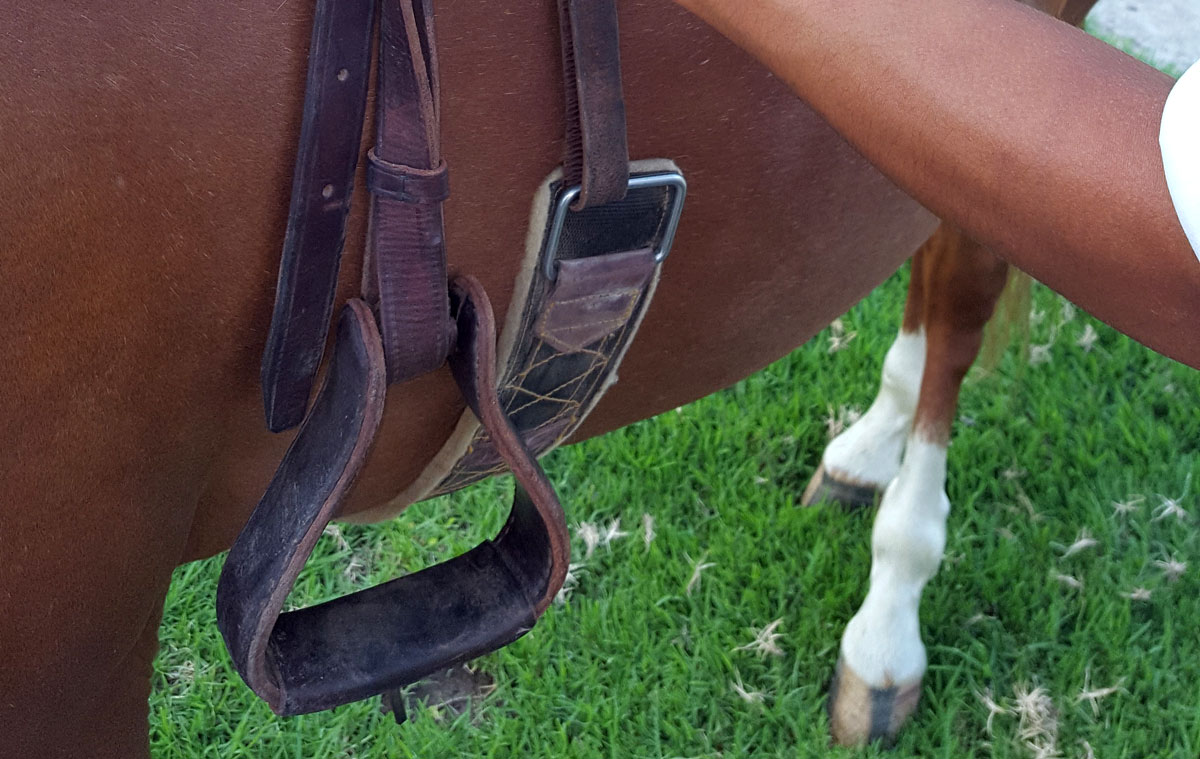
3. On both sides of the saddle, there are the saddle straps where you attach the stirrups and the cinch. The cinch is made of leather, felt or other materials and it is used to tighten the saddle to the horse’s back and it is stuck to one of the sides of the saddle, in different ways.
Now that we have explained the essential parts of a saddle, let’s have a schematic look at the saddling process.
- With your horse tied, as we said, you usually stand on his left side and you put the pad on the horse’s back, covering it from the withers towards the tail. Slide it back into place to ensure that the hair on the horse’s back lies flat beneath the pad. Check both sides to make sure the pad is equally long.
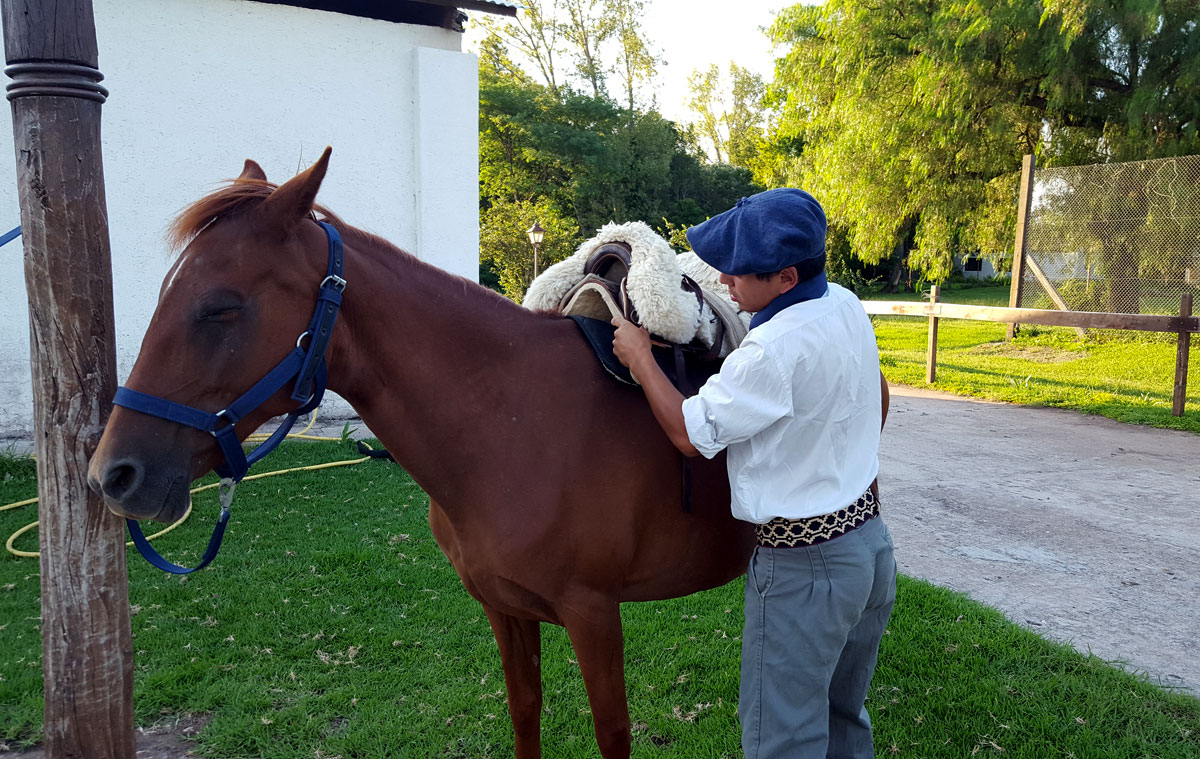
- On top of the pad, you will put the saddle, making sure that the pad is in its place and that no part of the saddle is in direct contact with the horse’s back.
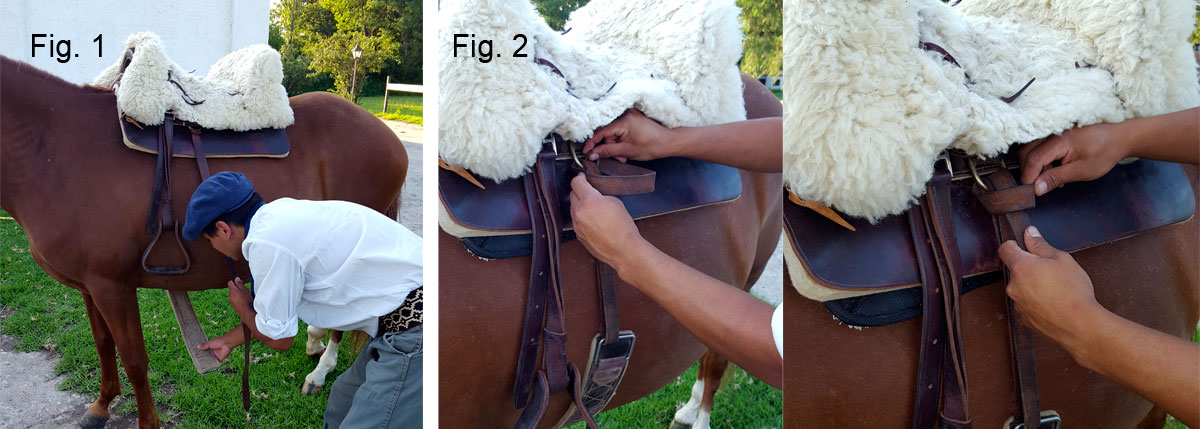
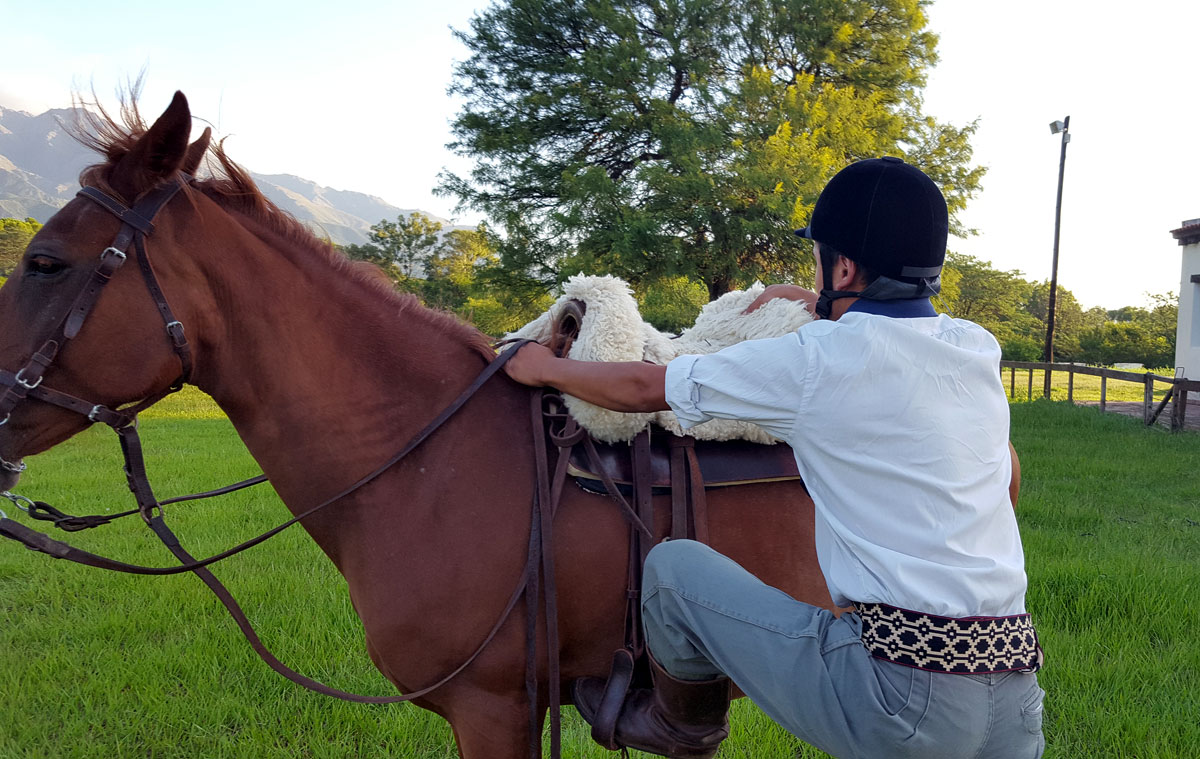
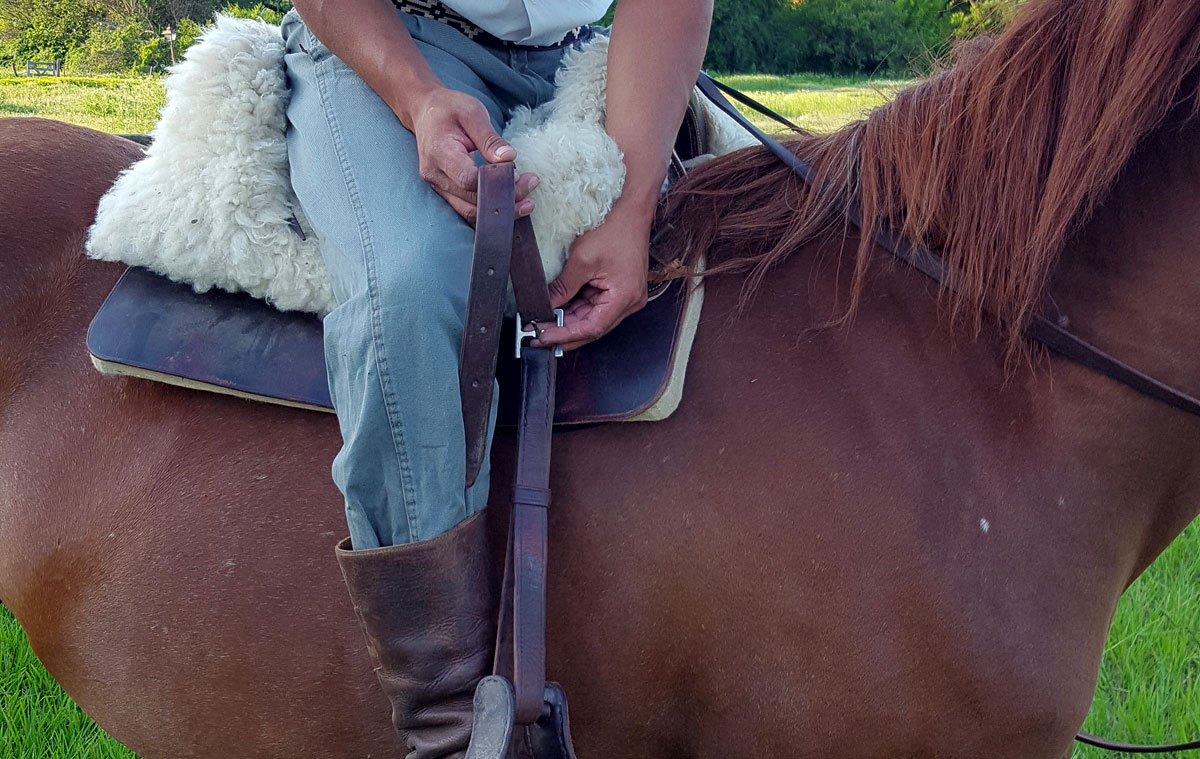
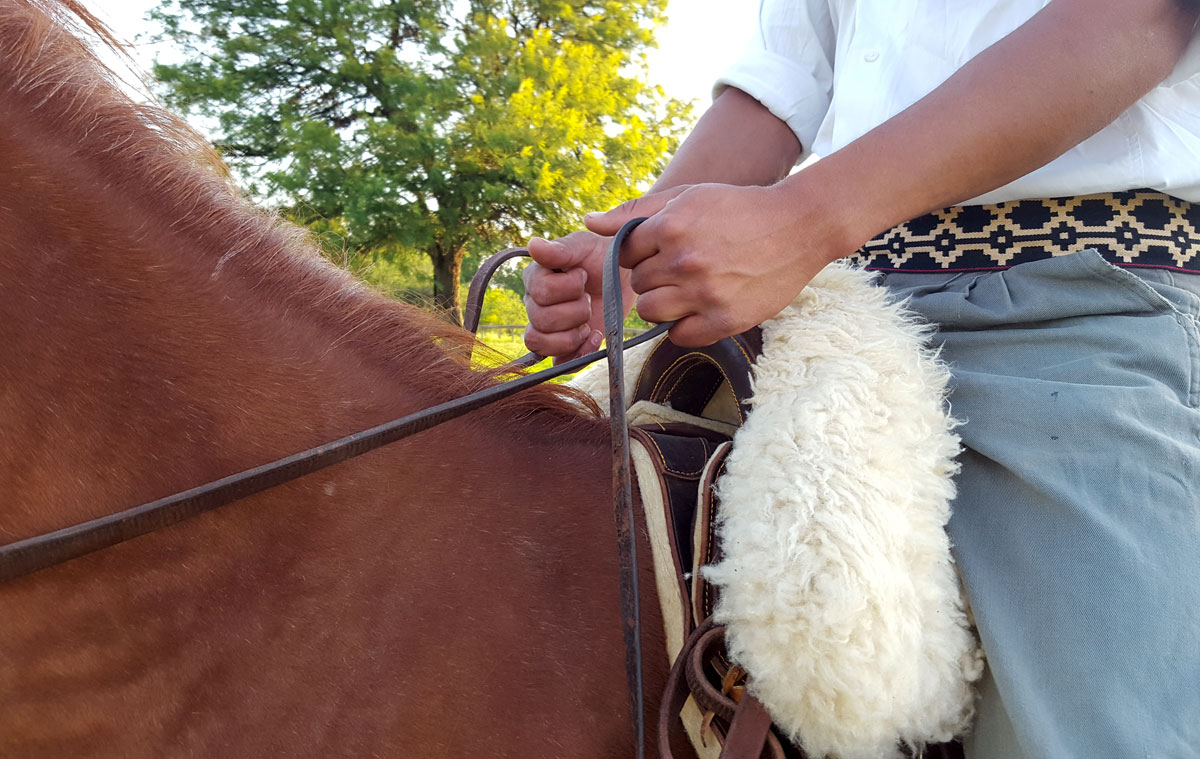
- Once you have placed the saddle on the horse’s back, you will tighten it with the cinch. Pass your hand and your arm underneath the horse’s stomach very carefully and pick up the free end of the cinch (Fig 1). After that, pass the leather end of the cinch – some models may be different – through a metal ring that is in the saddle, and tie the cinch up loosely just to make sure the saddle won’t move out of place towards the sides when you place your foot in one of the stirrups. The way you tighten or adjust the cinch and the saddle depends on the types you are using (Fig 2).
The bridle
The bridle is a set of straps that together with the bit is used to control the horse’s head, the tip is attached to the reins, which are used to guide the horse.
Putting the bridle on is also easy, but you should practice this with someone who can show you. We will explain how to do it so you can see it:
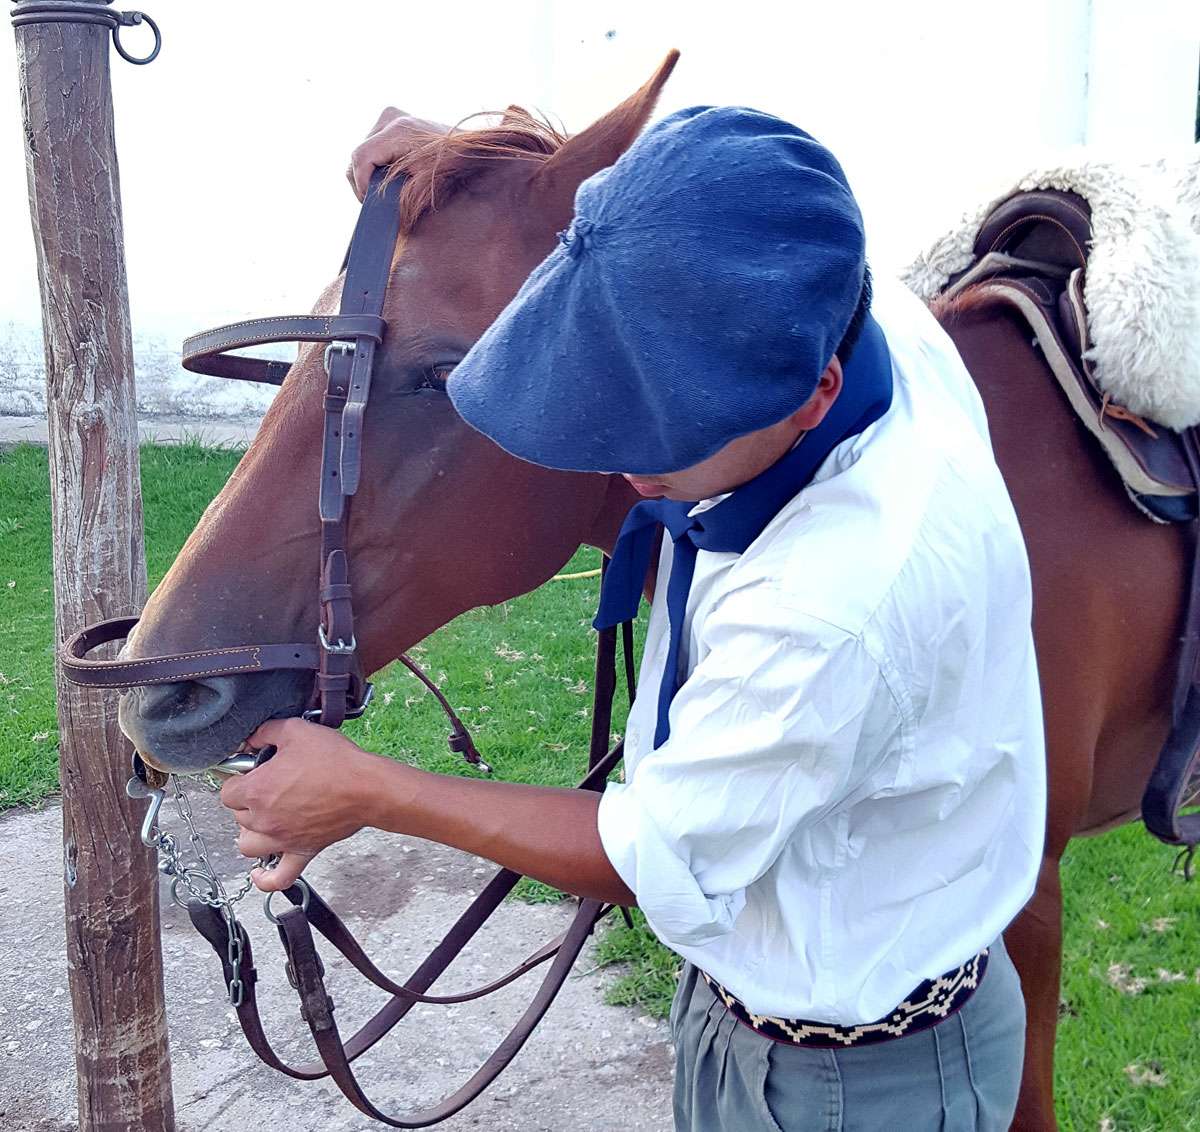
Take the upper end of the bridle with your right hand and the lower part, where the bit is, with your left hand. Stand on the left side of the horse and try introducing the bit into the horse’s mouth. At the same time use your left hand to make the horse open his mouth.
If the horse is well tamed, he will open his mouth as you touch his teeth with the bit. Put he bit in and then, with your right hand, adjust the other part of the bridle behind the horse’s ears.
The bit must be always placed on top of the horse’s tongue and you must adjust the other part of the bridle in such a way that the bit stays in that part of the mouth between the teeth and the molars.
All this must be done very carefully so the bit doesn’t touch the horse’s molars or hurt the corners of the mouth.

3. MOUNTING A HORSE AND SITTING ON THE SADDLE
We will explain briefly how to mount a horse and sit on the saddle correctly.
Mounting a horse
This is quite easy. This explanation is good in case your horse is medium-sized. If your horse is very tall, you may need a stool to mount him.
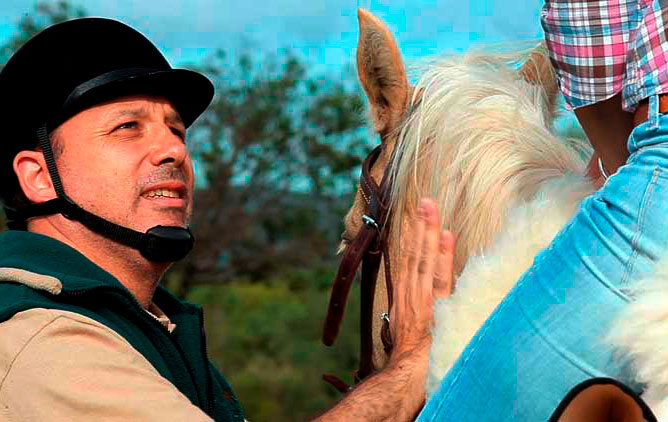
At first, it is convenient to have somebody hold the horse’s reins. Remember that you always need some guidance. Follow these steps:
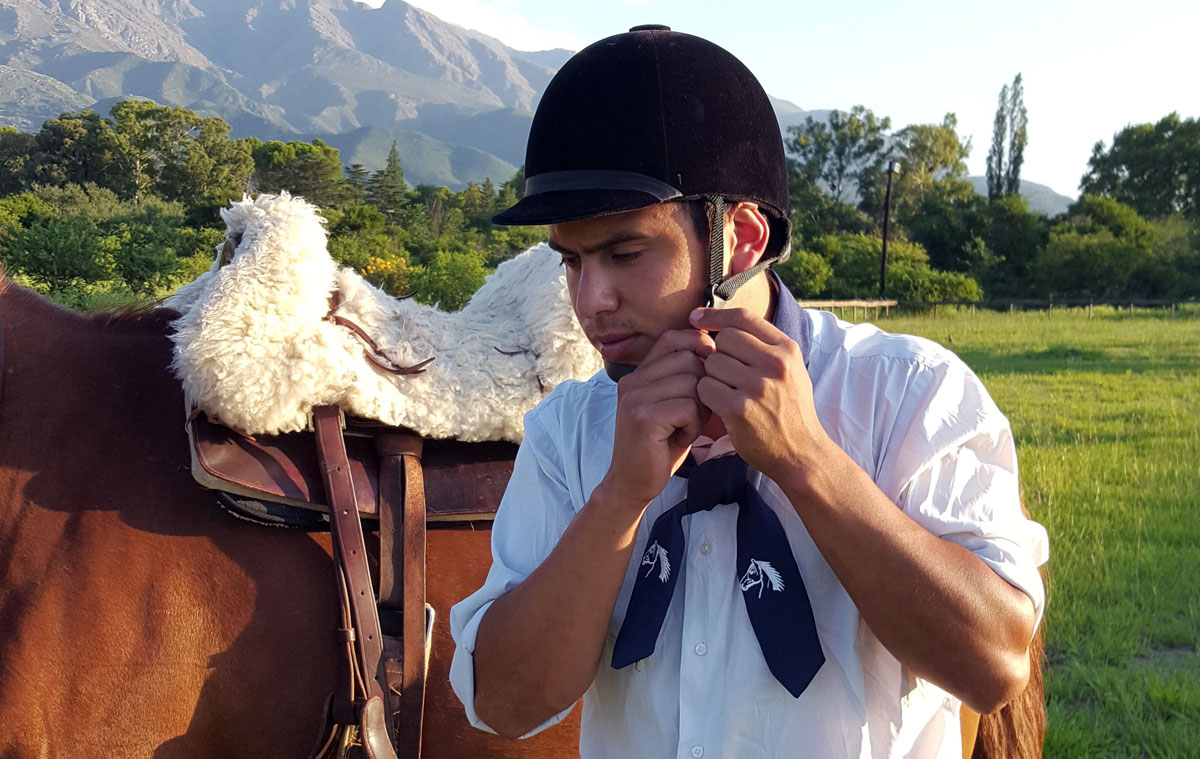
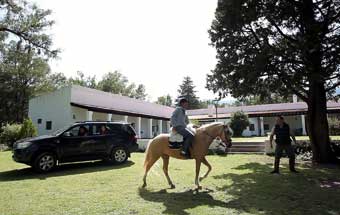
Take the horse with the saddle on outside the stable, since it is more advisable to mount in an open space. Make sure that the cinch and straps are well fastened, the stirrups are long enough and you are wearing your helmet. With your left hand hold the reins and a lock of the horse’s mane.
With your right hand hold the stirrup and place your left foot in it, making sure that your toes are not against the horse’s side. Your feet should be alongside the horse’s back.
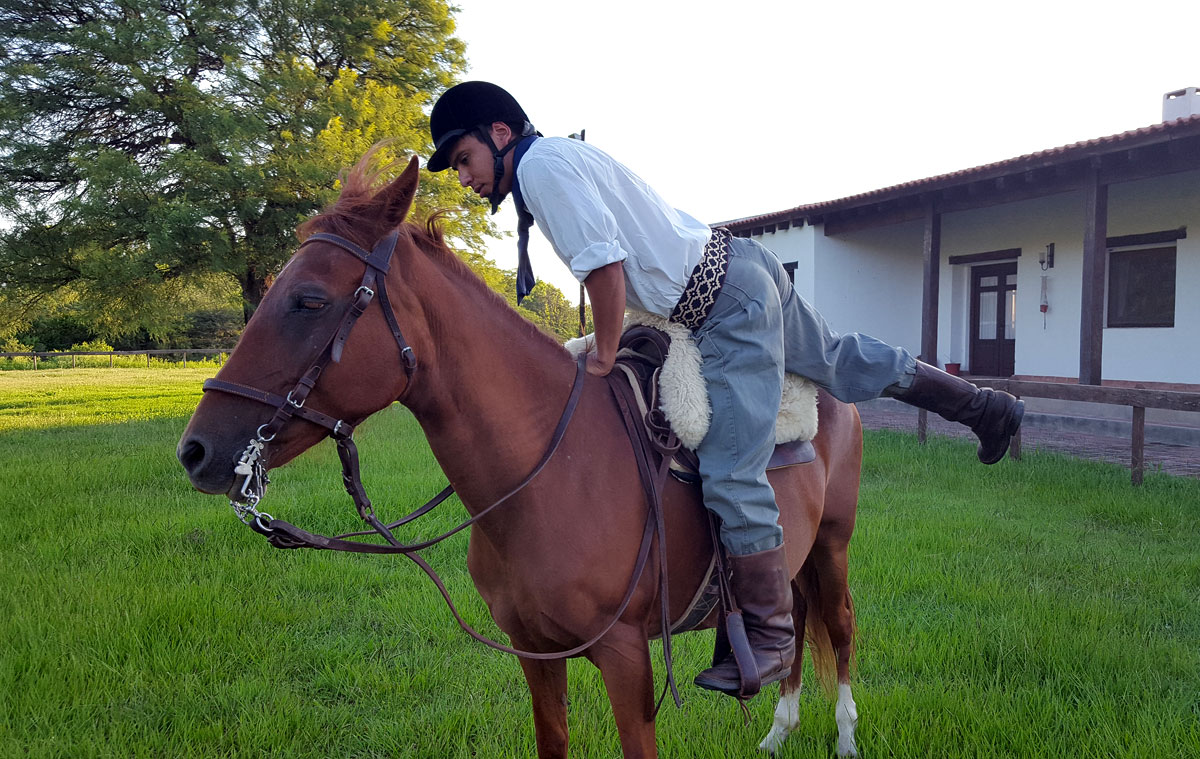
Then, with your right hand grasp the rear pommel of the saddle and push with your leg on the stirrup to lift yourself up. Use your right leg to help you with a push. Never pull the saddle with your hands and use your legs to mount, instead. Once you have lifted yourself, bend forward over the horse’s neck and swing your right leg over the rear of the horse and sit gently on the saddle. After that, place your right foot in the stirrup.
Then, you have to adjust – shorten or lengthen - the stirrups according to the length of your legs. At first, you may need somebody’s help for this. With practice, you will get to do it by yourself, adjusting the length with the buckles of the straps. You will also hold the reins correctly.
Sitting on the saddle
The way you sit is very important, since a right position helps you control your balance and your seat, and you will be able to follow your horse’s movements without unbalancing him.
Take into account these first important considerations when you sit.
1. Riding a horse is like dancing. You must start from a right position but relaxed. So, your seat bones must be placed in the middle of the saddle seat, your back must be upright and your shoulders squared. In that way, you will find your own balance, starting with a relaxed posture.
2. The wide part of your feet must be placed in the stirrups and drop your heels gently.
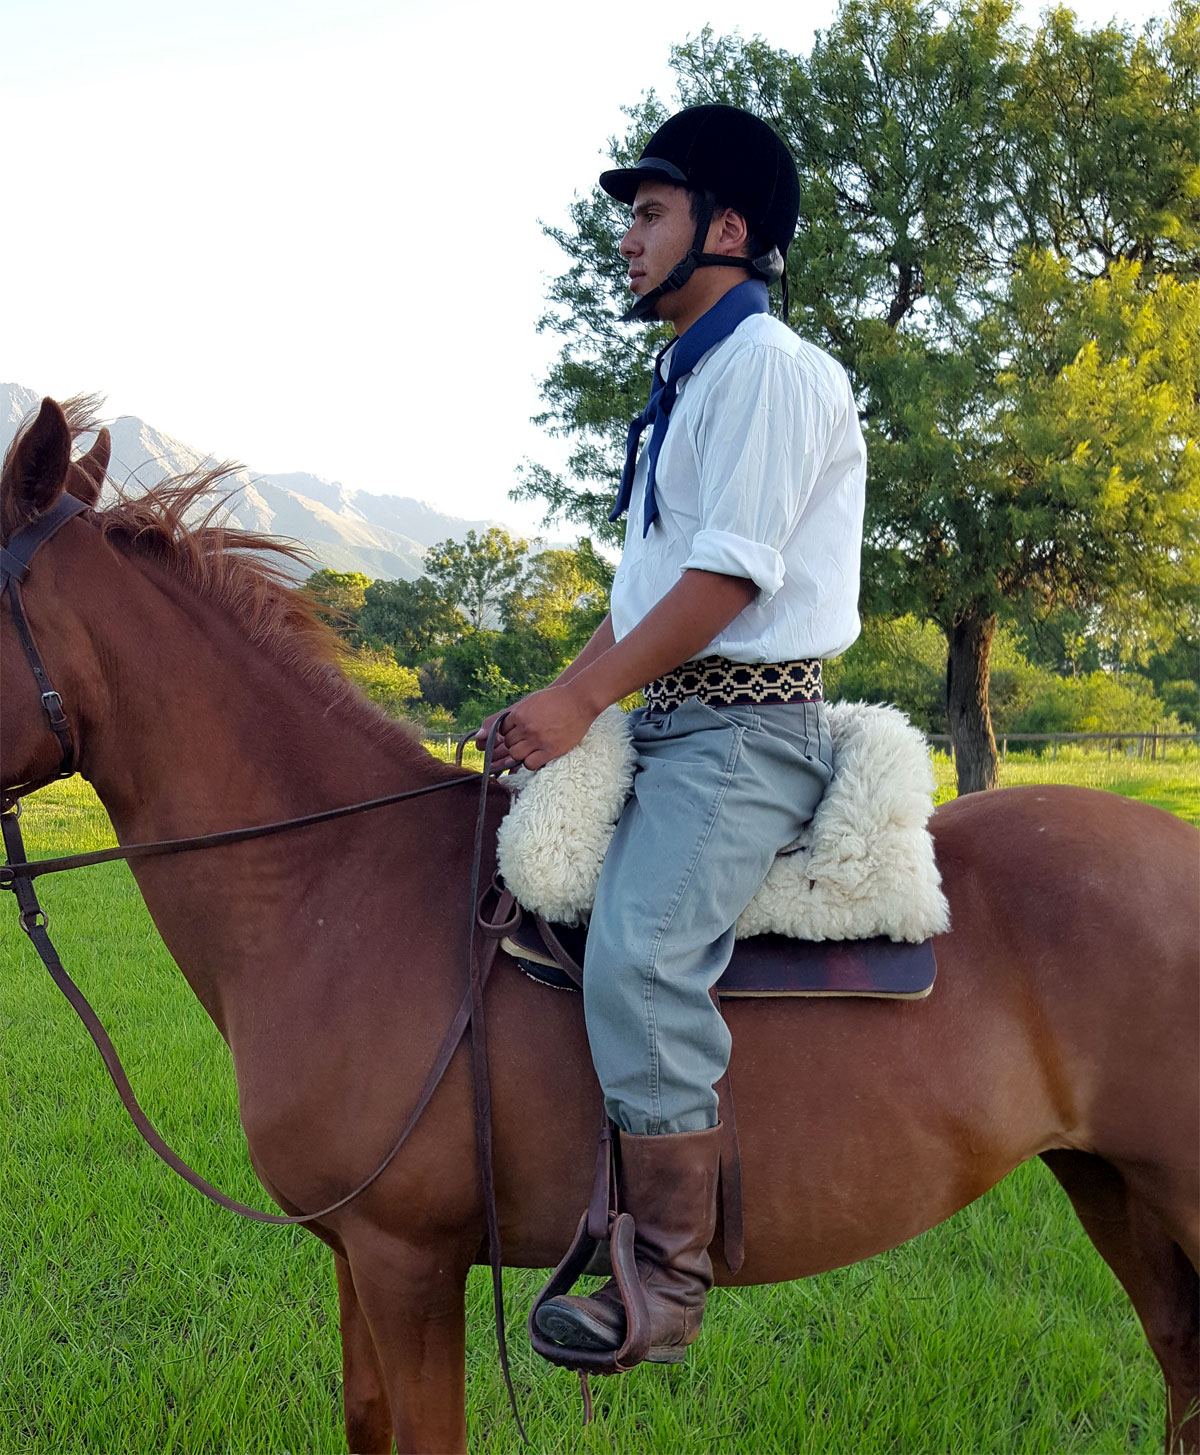
3. In the right position, you can draw a straight line from your shoulder, through the elbow to the tip of the heel, and your foot is in line with your knee, in such a way that your knees are pointing in the same direction as your feet in the stirrups.
4. Pick the reins, one in each hand, if classic riding. The rein should be coming in over your little finger and out over your thumb, which will hold on to the reins and control them together with the fist. Your thumbs should be pointing up and your fingers closed in a relaxed fist.
Well, of course this is only the beginning of these actions and you will improve them with practice. As you see, up to now they don’t seem to be very difficult. If you take up horse riding, it will give you a great satisfaction, and if you feel the joy of it, you will never stop practicing.
Part I ends here, but we continue in Part II, to further develop the basic principles to learn to ride a horse.
Are you passionate about horses, too? Do you want to learn how to train them?
Download our free eBook Horse training step by step. When you see how your horse learns and begins to understand your signs and aids, you will be filled with joy.
And if you want to be a professional horse trainer and get field-based training, you should check out our training program. You will have the opportunity to live in our equestrian centre and experience our full training process with young horses.
~
THIS COULD ALSO BE INTERESTING
Learn how to ride in Valley of Traslasierra
We teach you in a relaxed atmosphere how to ride a horse and about the Peruvian Paso horses that we breed at Haras Ampascachi.
Planning a horseback riding route
You need to take into consideration various aspects when planning a riding route, especially the trails that must be comfortable for riders and horses.

Be enchanted by the Calchaqui Valleys
Villages and small town like Seclantás, Molinos, Cachi and Cafayate are outstanding among the touristic places and beautiful corners that we visit during the riding tour through the Calchaqui Valleys.
~
WHAT IS YOUR OPINION? LEAVE A COMMENT
Planning your horse riding holidays?
Join the Ampascachi Community. You will get exclusive advantages and guidance for your next horse riding holiday.