

 German
 French
 Spanish
Learn how to ride a horse – Part II
By: Pablo Imberti Posted: 28/08/2020
Learning to ride a horse - 6 basic principles
It is never too late to learn to ride a horse, so take note of our basic tips for beginners.
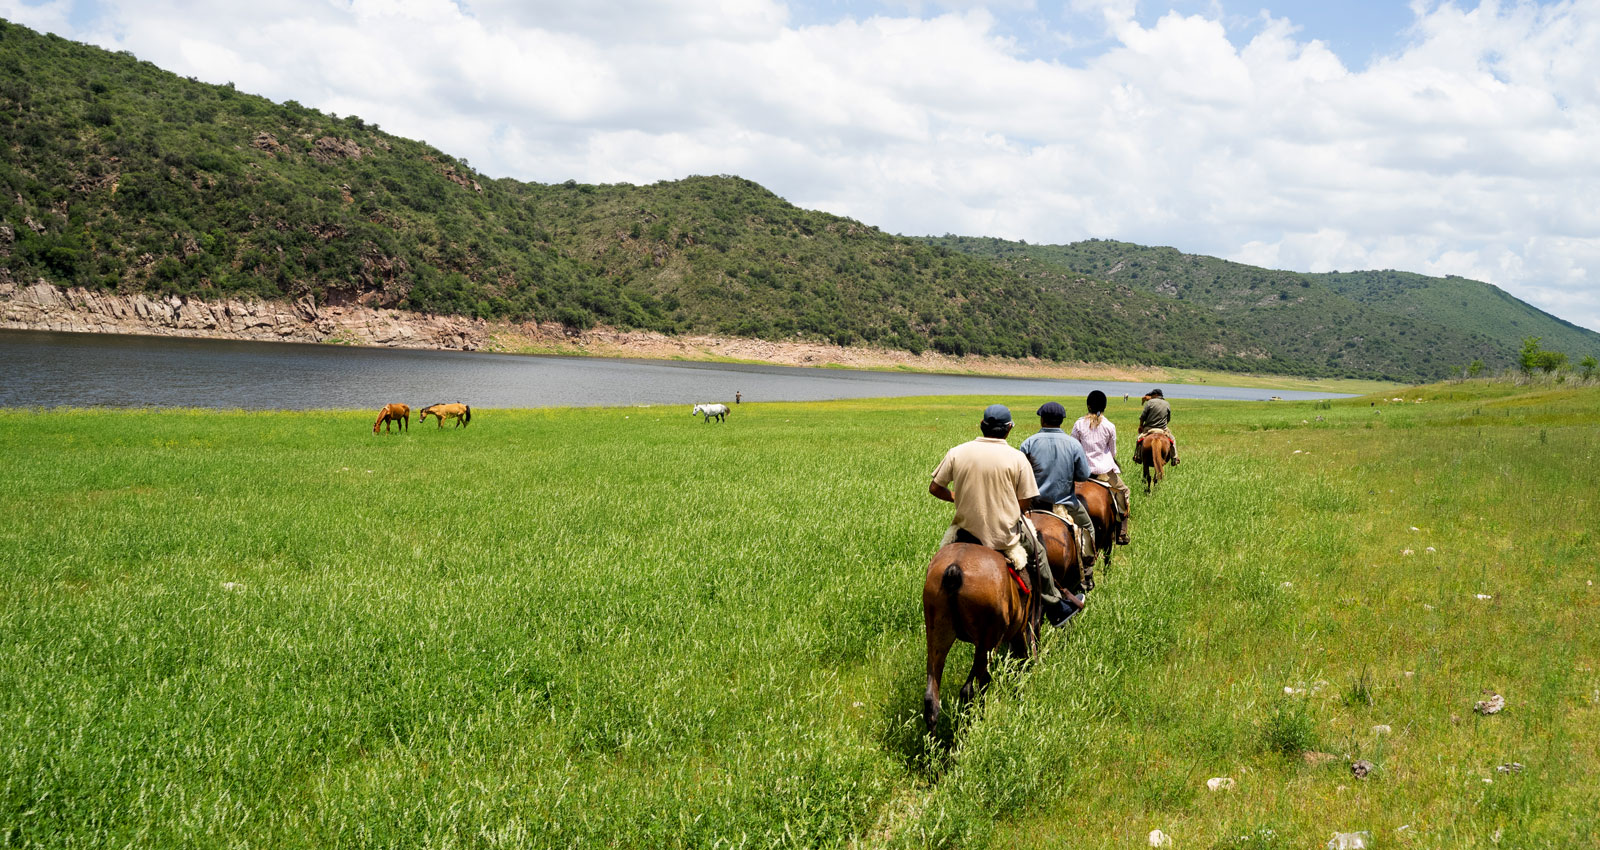
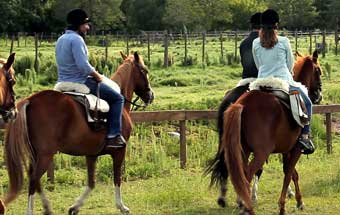
Go horse riding in a group and enjoy nature!
In Part I we talked about the first 3 basic principles to learn how to ride a horse.
Here, in Part II, we will continue with our article as of the fourth basic item to complete our tips and inspire you to practice horse riding and go out with a group of other riders to see the world in an amazing and special way.
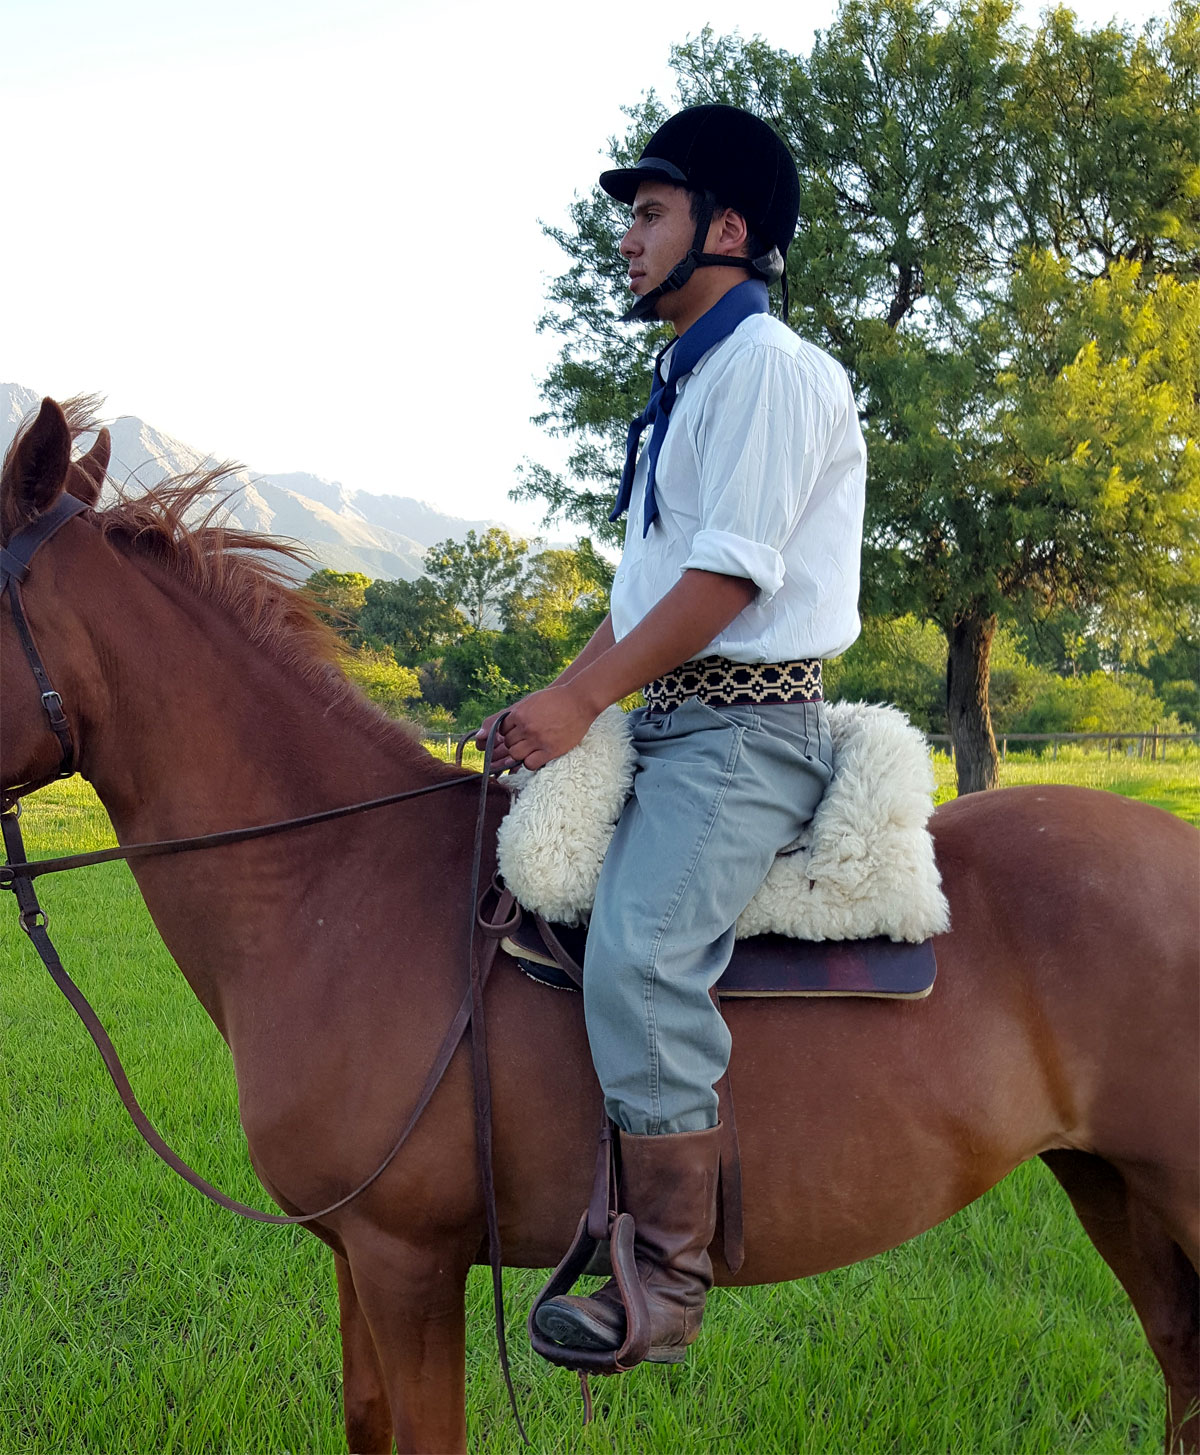
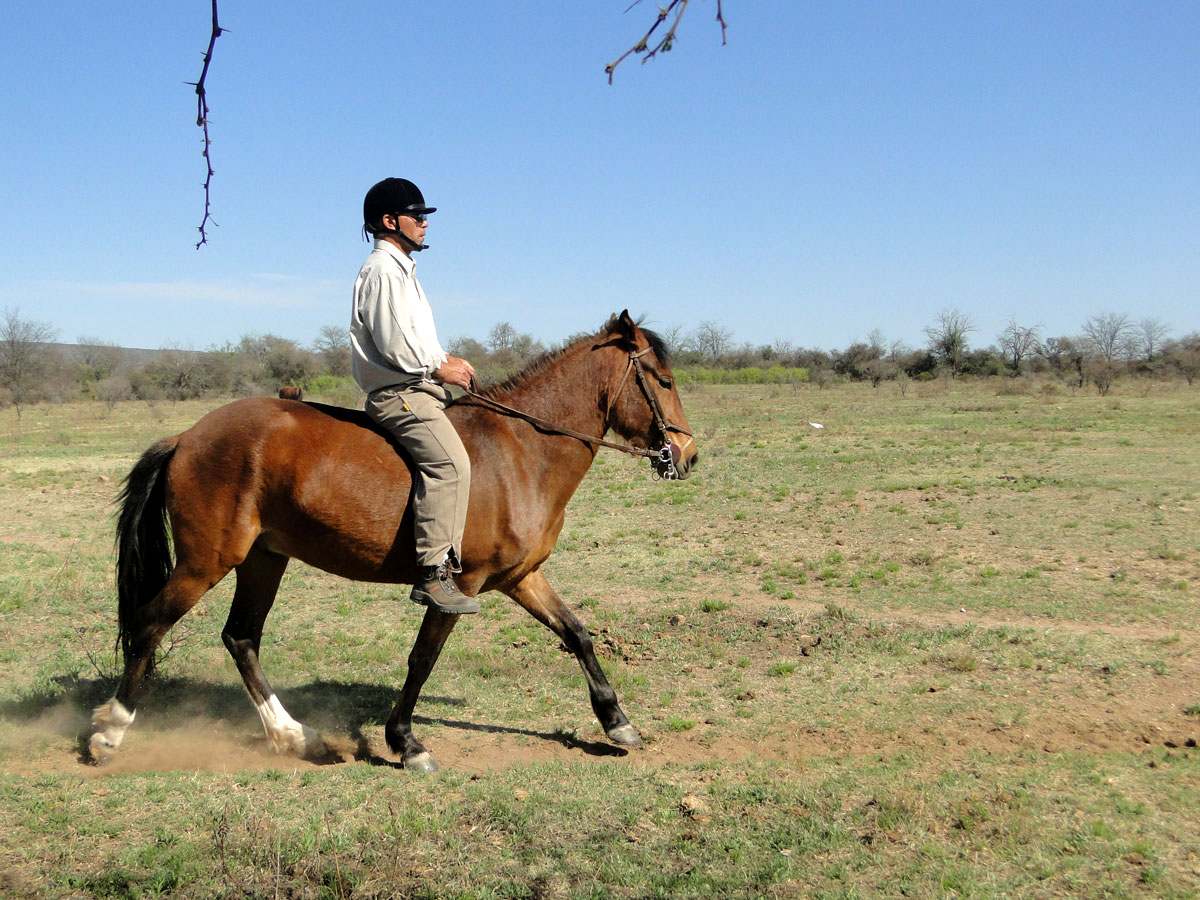
4. STARTING TO WALK ON HORSEBACK
We are already sitting on the saddle and we have to start off, that is to say, the horse has to start walking. You can do so in a riding arena or in an open field. You will have a rather awkward and unpleasant feeling, you will feel unbalanced and all this is because you have never practiced moving the different muscles that you have to use in order to move together with the horse and keep your balance. You will overcome all these feelings with practice.
Going Forward
Sitting correctly (as explained in Part I), we will start by learning to go forward and to stop. These are also the first two cues used when taming a horse properly.
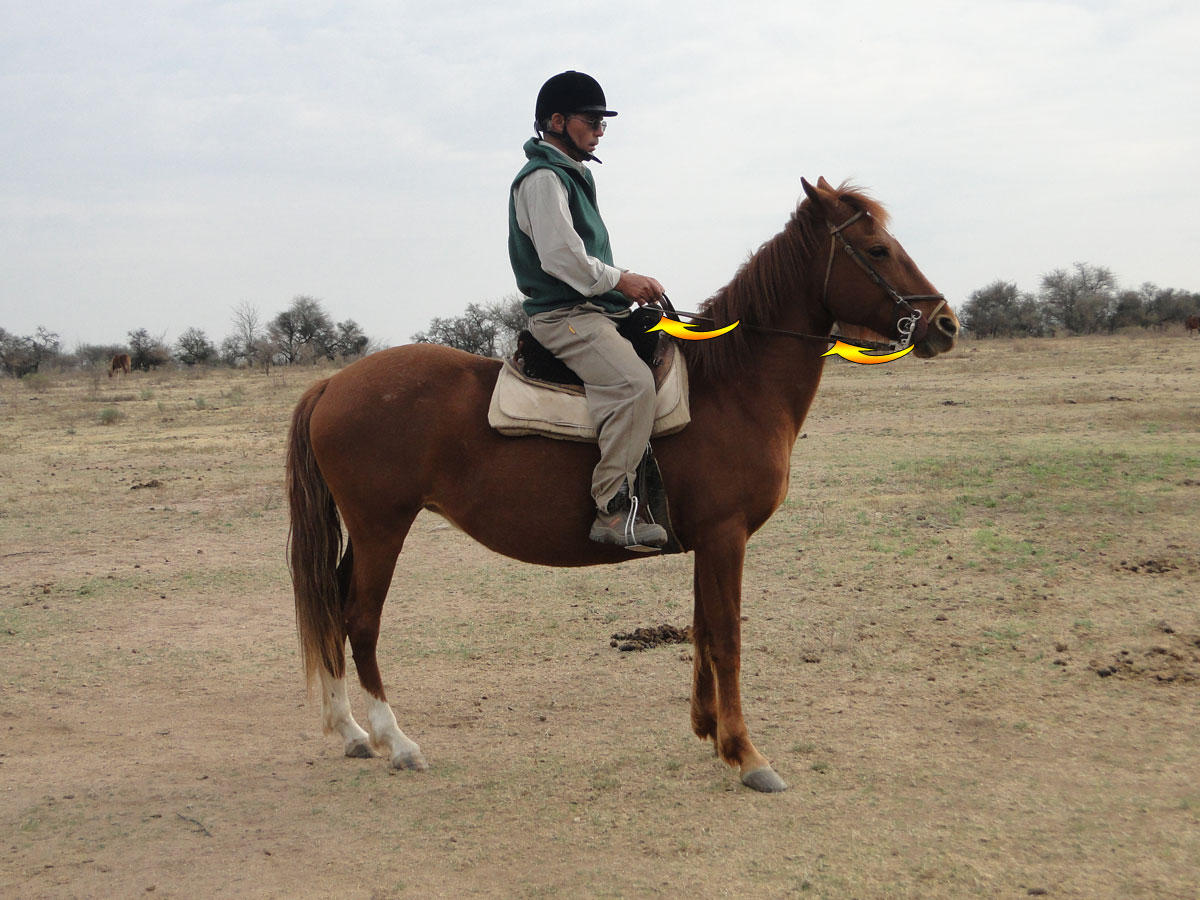
In our case, our horse is properly trained and we count on our instructor’s help, so we start by pressing with our leg, from the knee downwards, that is, with the calf and the boot heel, slightly behind the cinch.
When the horse starts to move, as a response to the pressing cue of the leg, we will be always looking ahead and we must loosen the pressure when the horse begins to move forward, keeping only a slight contact with our legs. The gait we will start with is the walk, at a slow speed. Later on, we will see how to speed the pace up.

Although we can learn to cue the horse to walk with our seat on the saddle, we consider that we must learn to cue with the pressure of our legs and heels first.
Cuing to Stop the Walk
Once we have practiced the walk, which has a slow speed (between 5 and 6 km/h), we begin to learn to cue for a halt. For that, we must close our fists slightly on each rein-–classical riding style-–and begin to pull backwards, trying to keep the pressure on the bit until the horse stops walking.
From the moment we start increasing the pressure gradually until the moment the horse stops, we shouldn’t go further than three strides. When we get to a halt, we must release the pressure on the reins immediately, to avoid confusing the horse.
The more we practice this, the better the halt will be. Here, we also prefer to use direct cues from the rein and not to mix them with seat cues. You will learn this later on.
Would you like to be part of a group with an equestrian soul?
Join the Ampascachi Community. Obtain exclusive benefits for your holidays.
We tell you how to start, train and take care of your horse.
Interviews with direct providers of riding tours around the world.
Opinions of outstanding equine scientists and personalities in the equestrian sport world.
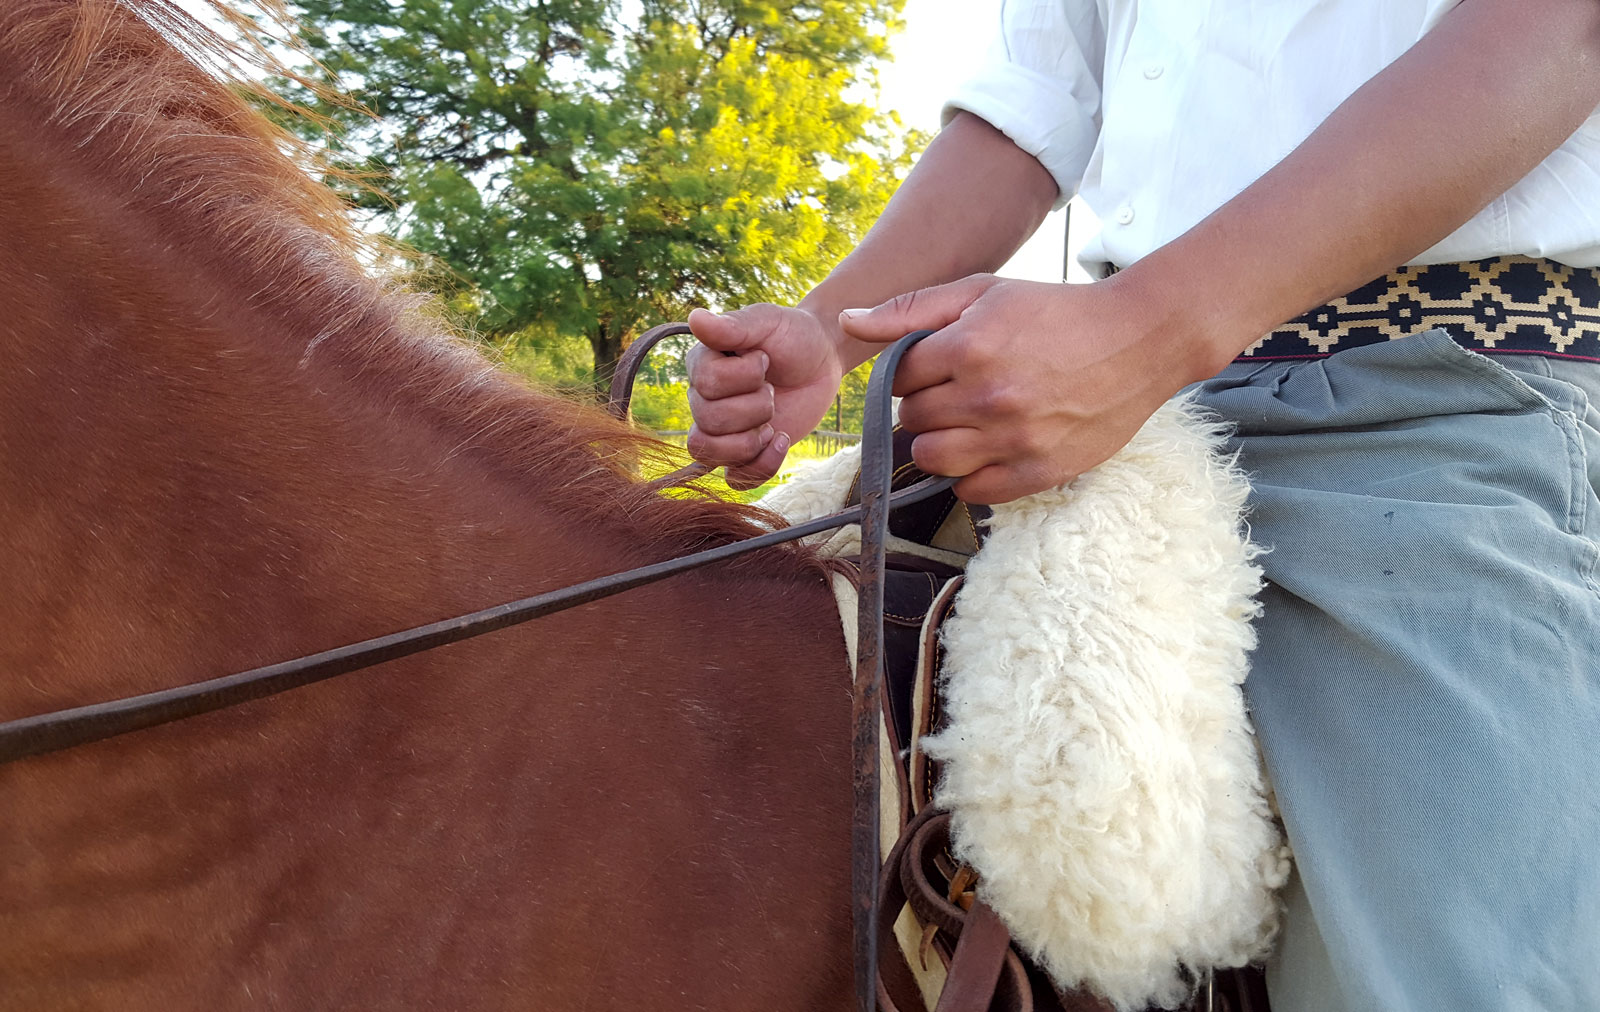
Turning the Horse
In order to learn to turn your horse, there are two ways. One is using the reins, one rein in each hand and the turn is made with the aid of both reins. In the second case, hold both reins in one hand and cue for a turn with the reins in touch with the horse’s neck.
We will use the first one, which is used in the classical riding style. Let’s suppose we start to go forward and decide to make a 90º turn. Then, we must:
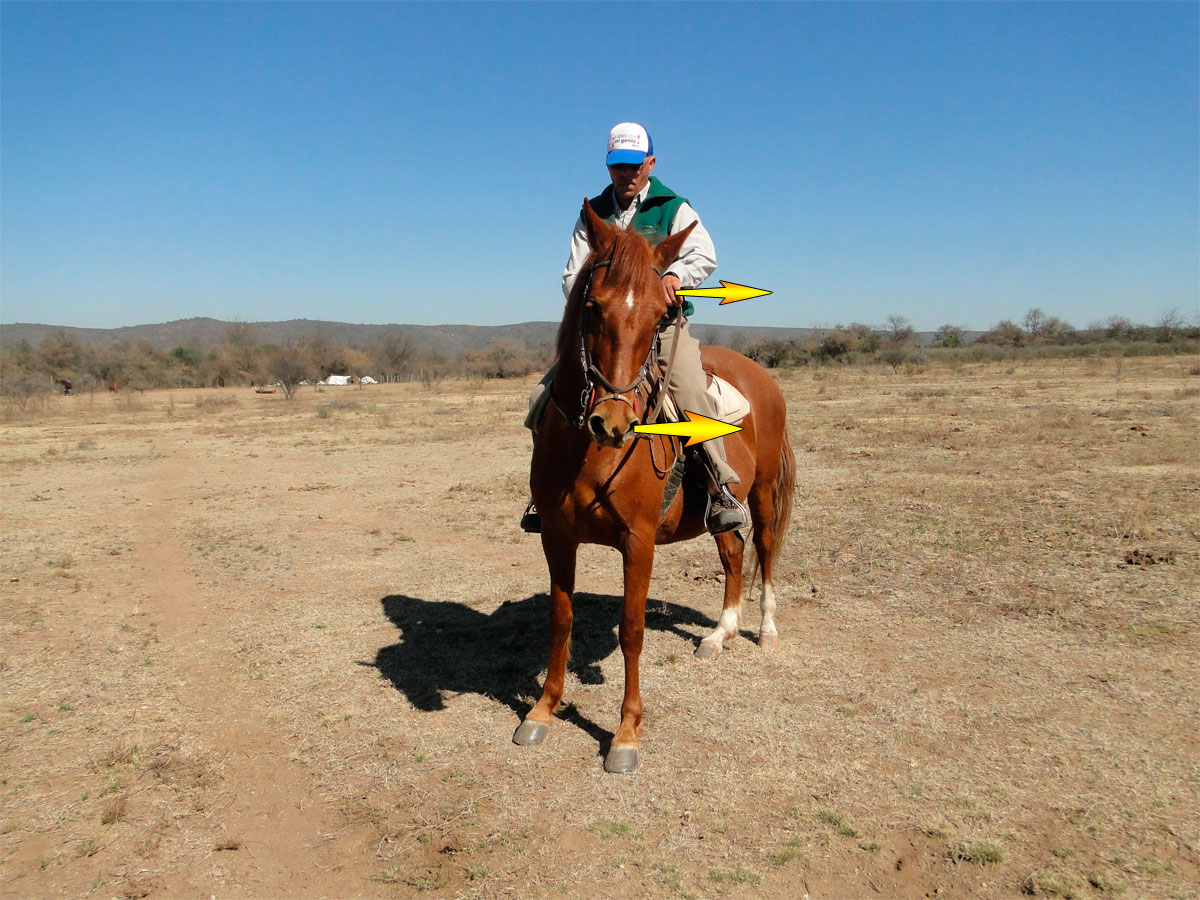
- Hold a rein in each hand, a few centimetres in front of the saddle and slightly above it. To make a left turn, squeeze the left rein backwards a little bit, with your left hand. Just squeeze and never pull. At the same time, with your right hand keep the other rein steady so that the horse doesn’t bend his neck too much, in the direction of the neck.
- In that way, the horse will start the turn by crossing one leg over the other one, thus, his back will turn too. The reins must not be neither loose nor tight, and you must sit upright without leaning towards the side of the turn.
- As the horse turns, you must loosen the rein you squeezed to cue, so you can even the pressure on both reins. Keep going with both reins even until you decide to make another turn or stop. Remember that practice makes perfect.
- Bear in mind that here we want you to learn to turn using the direct rein. Don’t use other cues such as the inside leg or the seat. You will learn to do this later, once you have improved the technique.
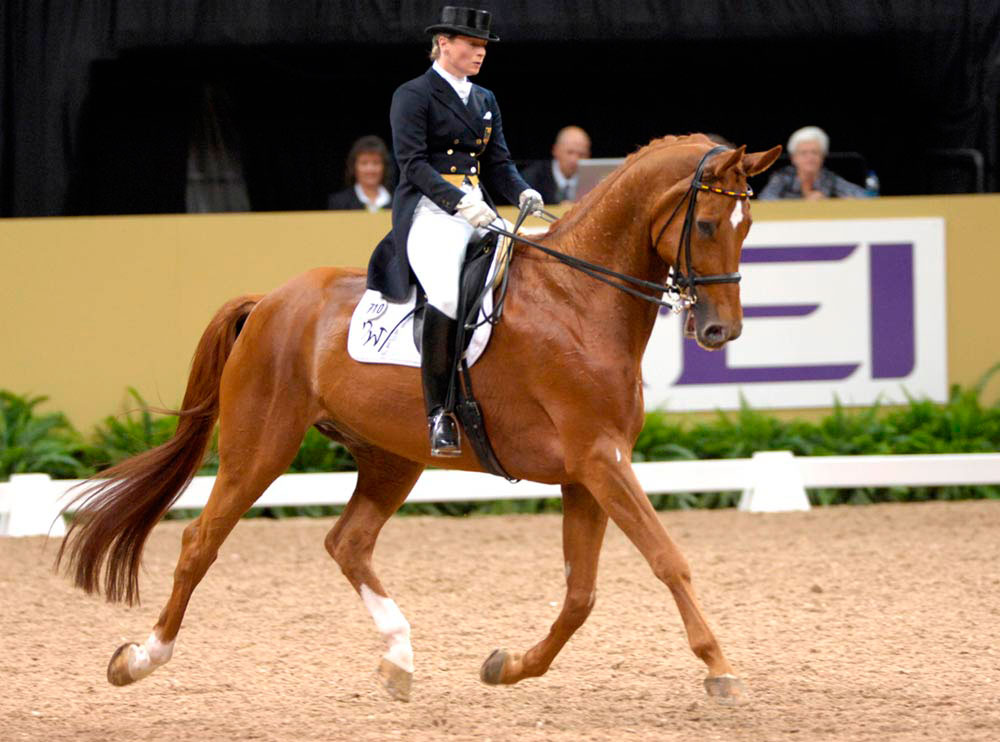
5. INCREASING THE SPEED OF THE GAIT – TROT AND GALLOP
Up to here we have learnt different things including sitting on the saddle, starting to walk (slowly) and stopping.
As we become more confident, we will begin to ask our horse to speed the walk up and, therefore, the horse will start to trot and we have to learn to maintain the balance and move our body to the rhythm of the horse’s movements in the trot.
If we keep asking to speed up while trotting, our horse will begin to gallop and so we must balance ourselves with the horse and go with this gait. Of course, you will learn to do this with practice and with your instructor’s help¬, without any stress because learning to ride must be fun, not a torture.
The Trot
When a horse trots it has a two-beat gait. In the first beat he lifts and propels himself–he lifts the right rear leg and the left front leg, in a diagonal way–and in the other beat, those two limbs simultaneously hit the ground.
In this way, the horse’s centre of gravity moves upwards and forwards, describing a sine curve in a vertical plane This movement causes the rider’s seat to rise up and then fall back into the saddle, in the descending part f the movement.
Therefore, to learn to follow this movement you must concentrate on having your back in an upright position and relax your shoulders, hips and legs, so your seat deepens into the saddle. You will begin in a straight line, with the walk in a safe way. At that moment, you will begin to increase the pressure with your leg and calf, which will make the horse increase the speed and will start to trot.
When this happens, release the pressure of your legs immediately, and the impulse phase will begin, which lifts you up in the air. You must try to avoid this and keep your seat without lifting. Continue like that until the horse sets his limbs on the ground, and at that moment you must cushion the impact by articulating your hips in the seat, which must be kept in contact with the saddle, and the two-beat cycle starts again.
It is very important to start to feel the horse’s gait rhythm to adapt yourself to it and, thus, to begin to improve this gait through practice.
This way of moving in the trot with your seat always on the saddle is known as sitting trot. There is another way to trot, known as rising trot or English-style trot, but you will learn this later, as your practice progresses.
At first, the trot seems hard, but once you begin to synchronize your body with the horse’s trotting rhythm, you will find it comfortable for you and the horse.
There are few other details to take into account when trotting, regarding your hands, shoulders, etc. But the most important thing is paying attention to the rhythm in order to let your body down in the seat when the impulse happens and when the limbs hit the ground, in such a way that your body goes with the movement of the horse’s back, without rising from the saddle.
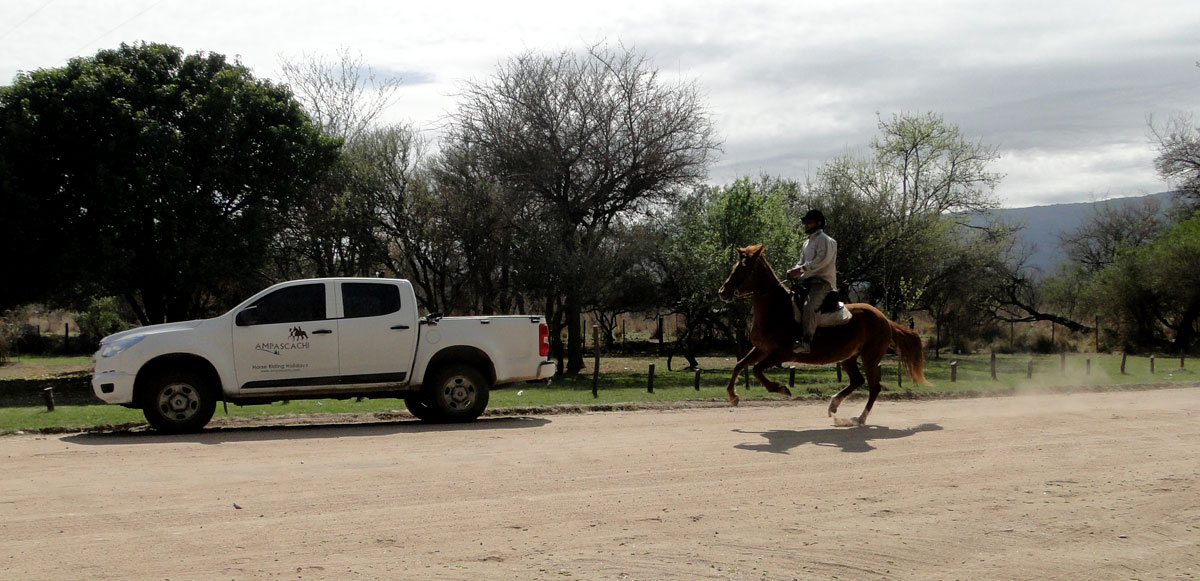
The Gallop
The gallop is a three-beat gait. During the first beat three of the horse’s limbs are lifted and the right rear leg is on the ground–it could also be the left rear one. That action gives the horse the impulse needed to set, in a second beat, the left rear and the right front limbs simultaneously. Finally, in the third beat, the left front limb hits the ground, too. In this case, where the horse started with the right rear leg and ended with the left front leg, we can say that he has a left-handed gallop. This gait is faster and smoother than the trot.
Since we will learn to gallop in a straight line, you must be able to trot safely in a straight line first, sitting properly, with your back and shoulders in an upright position and relaxed, as well as your legs and hips, with no tension in those parts of your body. You will begin to increase the pressure of your leg and heel on the horse, which is already trotting. In time, he will respond with a speed increase and start to gallop.
After receiving this response, you must release the pressure immediately, keeping always a good posture, without bending forward. You will try to make your seat go with with the horse’s movements and rhythm, without lifting it from the saddle.
In this way, galloping with your seat well placed in the saddle, making a kind of “sweeping” movement on it with your relaxed hips, in order to go with the movement of your horse’s back, you will begin to practice and learn to fly with your horse at a speedy gallop.
Of course, there are some other details that should be considered, too. Such as, using your legs to start the gallop on the right or left hand, or holding the reins and placing your hands. But you will learn all this later.
We must say that in order to go from a trot to a walk, or from the gallop to the trot or from the gallop to the walk, we must make transitions . You will start those transitions by pulling the reins gently in a progressive way, until the horse slows down and changes his gait to the desired one.
Subscribe to the Ampascachi Community and obtain benefits and exclusive content. Furthermore, we offer free advice on horses and equestrian tourism.
6. RIDING IN A SAFE WAY
Here, we will explain a number of concepts required to have a safe riding experience for both you and your horse. They are not related to your skills as a rider or the ability to stir a horse, but to some important basic details that you must learn.
Horse Riding in a Group
It is important to remember that when you go horse riding with a group of people on a trail or in a field, we must know the characteristics of the place well. You must also take into account the number of hours that you will be riding, the gait speed you’ll go at, the riders’ training and the horses’ taming.
All these facts should be taken into consideration before setting off. So first, you must agree on the number of hours you will be riding and the gait speed you will use, according to the less-experienced riders in the group and the difficulties of the terrain.
Bear in mind that if beginner riders get tired, they could lose their balance and fall down or cause any other accident. The same things could happen if the terrain is dangerous.
Remember to be always alert while riding because your horse could stumble and fall, or something could scare him causing a sudden reaction. If this happens and if the rider is distracted, he might not be able to control the horse and could be thrown from the saddle. Paying a moderate attention, in a non-stressing way, will help prevent accidents to riders and horses.
If your horse gets scared and makes an unexpected movement, try to keep your balance on the saddle without hanging from the reins or pressing the horse with your legs. Use the stirrups and once you are balanced again, control your horse and stop him with the reins. Try to avoid busy roads or highways, which might scare the horse, and always take a telephone with you.
On your way back home and as you get near it, slow your gait down so the horse starts to relax and doesn’t get the habit of rushing back home or back to the starting point.
Bareback Riding
Once you have learnt or practiced the different gaits–walk, trot and gallop–with the saddle, it is important to learn to ride bareback because this will help you improve your balance and also fully feel the movement of the horse’s muscles, in any of the three gaits.
Many of us learnt to ride bareback before learning to ride with the saddle on, especially in our childhood or our teens, but this is not advisable.
Avoiding Falls and Safety Equipment
Falling down is always a risk we run, that is why we recommend:
- Riding a well-tamed horse, suitable for the rider’s skills.
- Moving around places where the terrain is not complicated and matches your practice level.
- Avoiding those places where the horse can get scared, such as busy roads.
- Being alert while stirring your horse.
- Checking the cinch to make sure it is always tight enough. And don’t forget to check also the right length of the stirrups.
Beside the recommendations mentioned before, it is important to have an adequate safety equipment to minimize the risks:
- Wear riding boots with a heel of, at least, 2.5 cm.
- Wear a certified helmet.
- If possible, wear a body protection vest, similar to an inflatable jacket or an airbag.
- Wear riding gloves, which provide a better grip and protect your hands.
- Learn to do an emergency dismount and an emergency stop.
Now, we have presented the 6 basic principles that should be taken into consideration when approaching a horse and starting to learn how to ride him.
Although this introduction is very brief, it will give you an idea about the basic notions that you must learn first, bearing in mind that your success will depend on the amount of time you can devote to practicing, on your possibilities and your enthusiasm.
One thing is for sure, horses are amazing and riding them is one of the most fulfilling experiences for our soul. Besides, it helps control your stress levels, caused by our fast pace of life and city life. Horse riding and equestrian trails take you away from your daily routine and let you be in touch with nature.
If we were able to inspire you, you can take one step forward and start to learn to ride a horse. You will find more information about our program for beginners here, Learn to ride on horseback in the Traslasierra Valley.
Are you passionate about horses, too? Do you want to learn how to train them?
Download our free eBook Horse training step by step. When you see how your horse learns and begins to understand your signs and aids, you will be filled with joy.
And if you want to be a professional horse trainer and get field-based training, you should check out our training program. You will have the opportunity to live in our equestrian centre and experience our full training process with young horses.
~
THIS COULD ALSO BE INTERESTING
Learn how to ride in Valley of Traslasierra
We teach you in a relaxed atmosphere how to ride a horse and about the Peruvian Paso horses that we breed at Haras Ampascachi.
Gaited Horses: Horses with a "Special Gait"
The basic gaits of most horse breeds are the walk, the trot and the canter or gallop. But other breeds have a special ambling gait which is more comfortable to ride than the trot.
8 benefits of riding horses
8 physical and psychological benefits of riding: exploring mountains and valleys, observing landscapes, galopping on plains.
~
WHAT IS YOUR OPINION? LEAVE A COMMENT
Your comments
Hello! I bought a purebred and everyone speaks evil of him just because I don’t know how to ride. But I am bonding with my horse very well; I feel like he has accepted me. In a few days I will ride him to learn. I do not know if it is a good idea but he is really docile. The truth is that the theoretical part is great and I have to apply that with my horse. Then, I will let you know about the results!
Planning your horse riding holidays?
Join the Ampascachi Community. You will get exclusive advantages and guidance for your next horse riding holiday.