
How to ride a horse - Part II
Learning to ride a horse: 6 basic principles
It's never too late to learn to ride a horse, so take note of our basic tips for beginners.
Ride in a group and enjoy nature!
In Part I we talked about the first 3 basic principles for learning to ride a horse.
Here, in Part II, we continue our article with the fourth basic point to complete our advice and inspire you to take up riding and go out in a group to see the world in a fascinating and special way.
4. START WALKING ON THE HORSE
Now that we are sitting in the saddle, we must start to walk, that is to say, the horse must start to walk (we can do this in a riding arena or in the countryside). You will feel a certain sense of uncertainty or discomfort, you will be off-balance, all as a result of the lack of practice in moving the various muscles that you will need to use to accompany the movement of the horse and to maintain your balance. All these sensations are overcome with practice.
Going forward
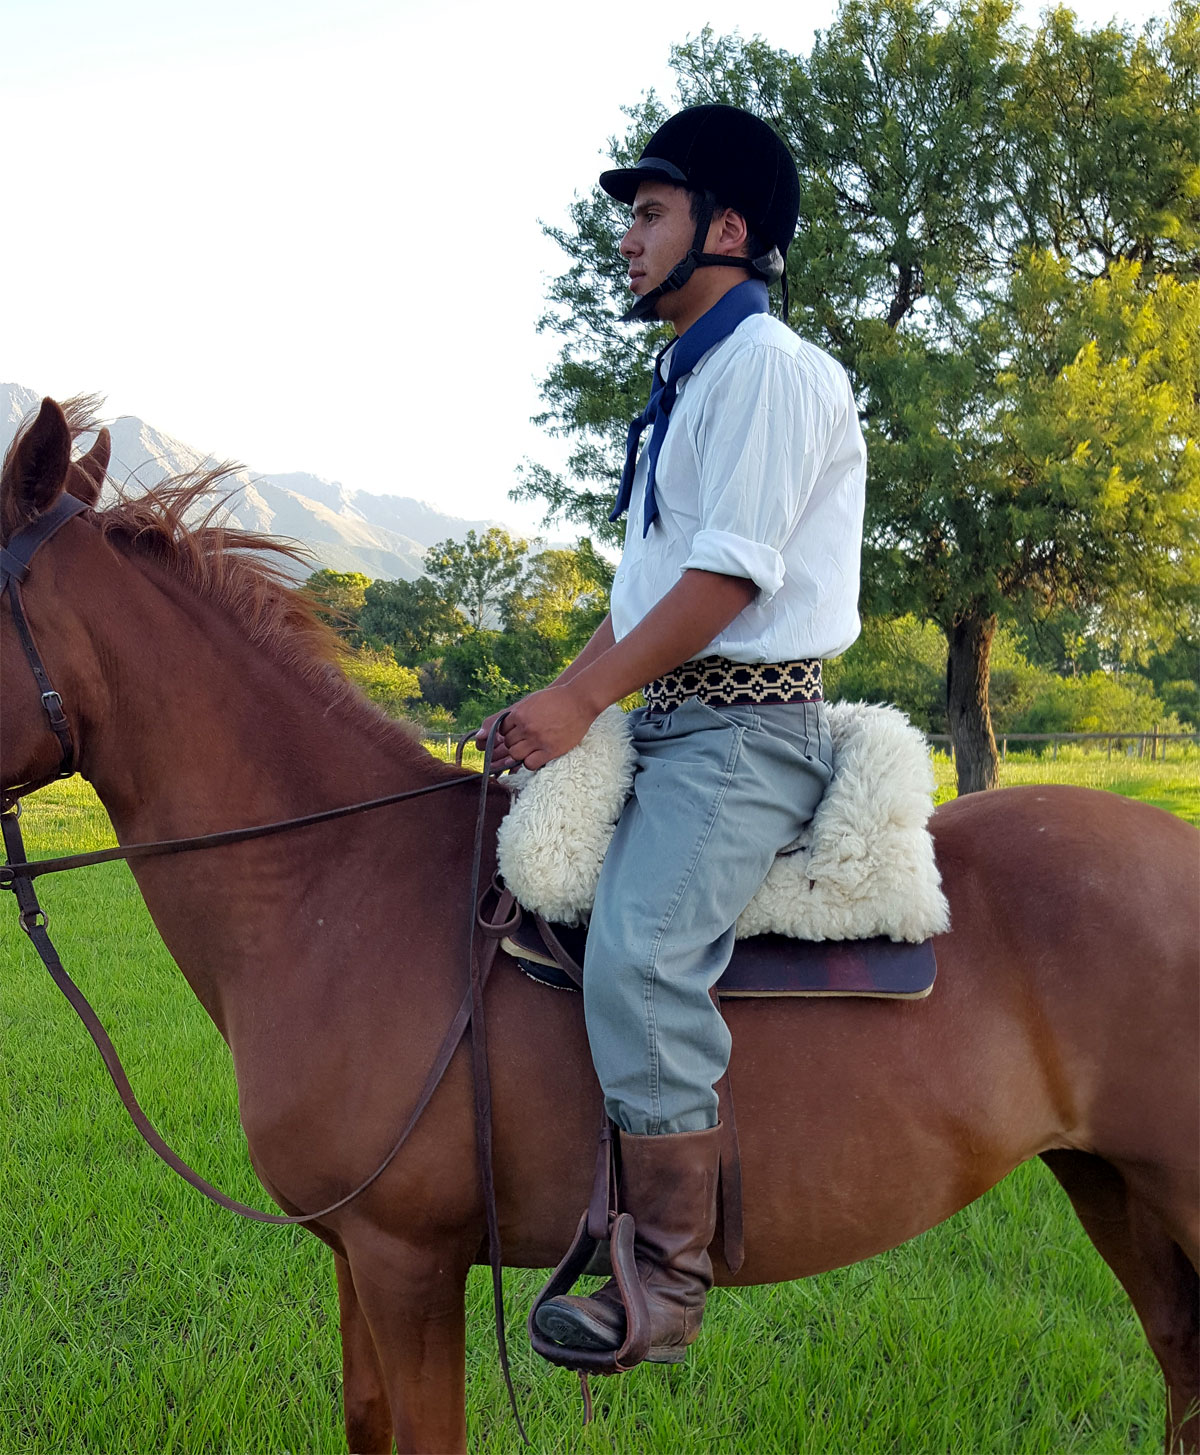
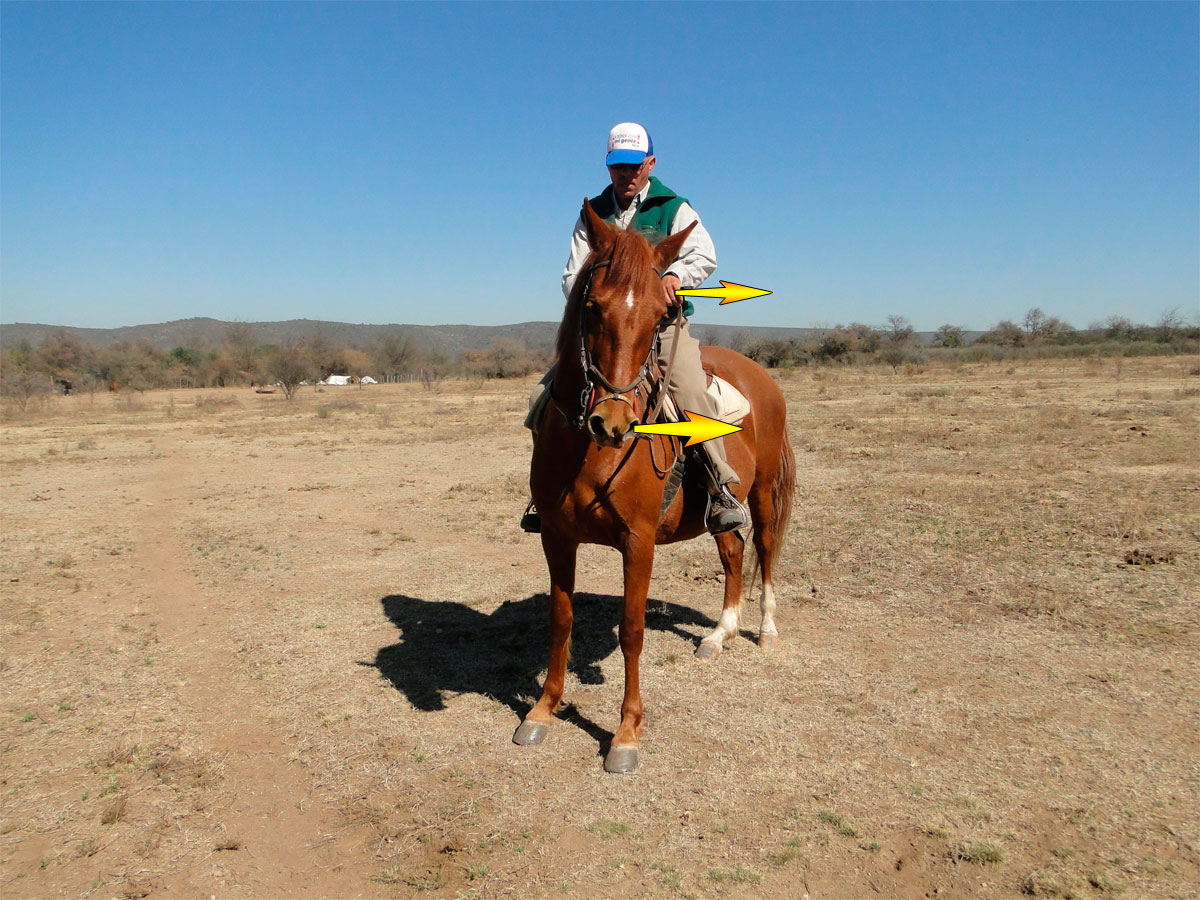
Sitting correctly - as we explained in Part I. - we will start by learning to move forward and to stop. These are also the first two signals with which one begins to correctly tame a horse.
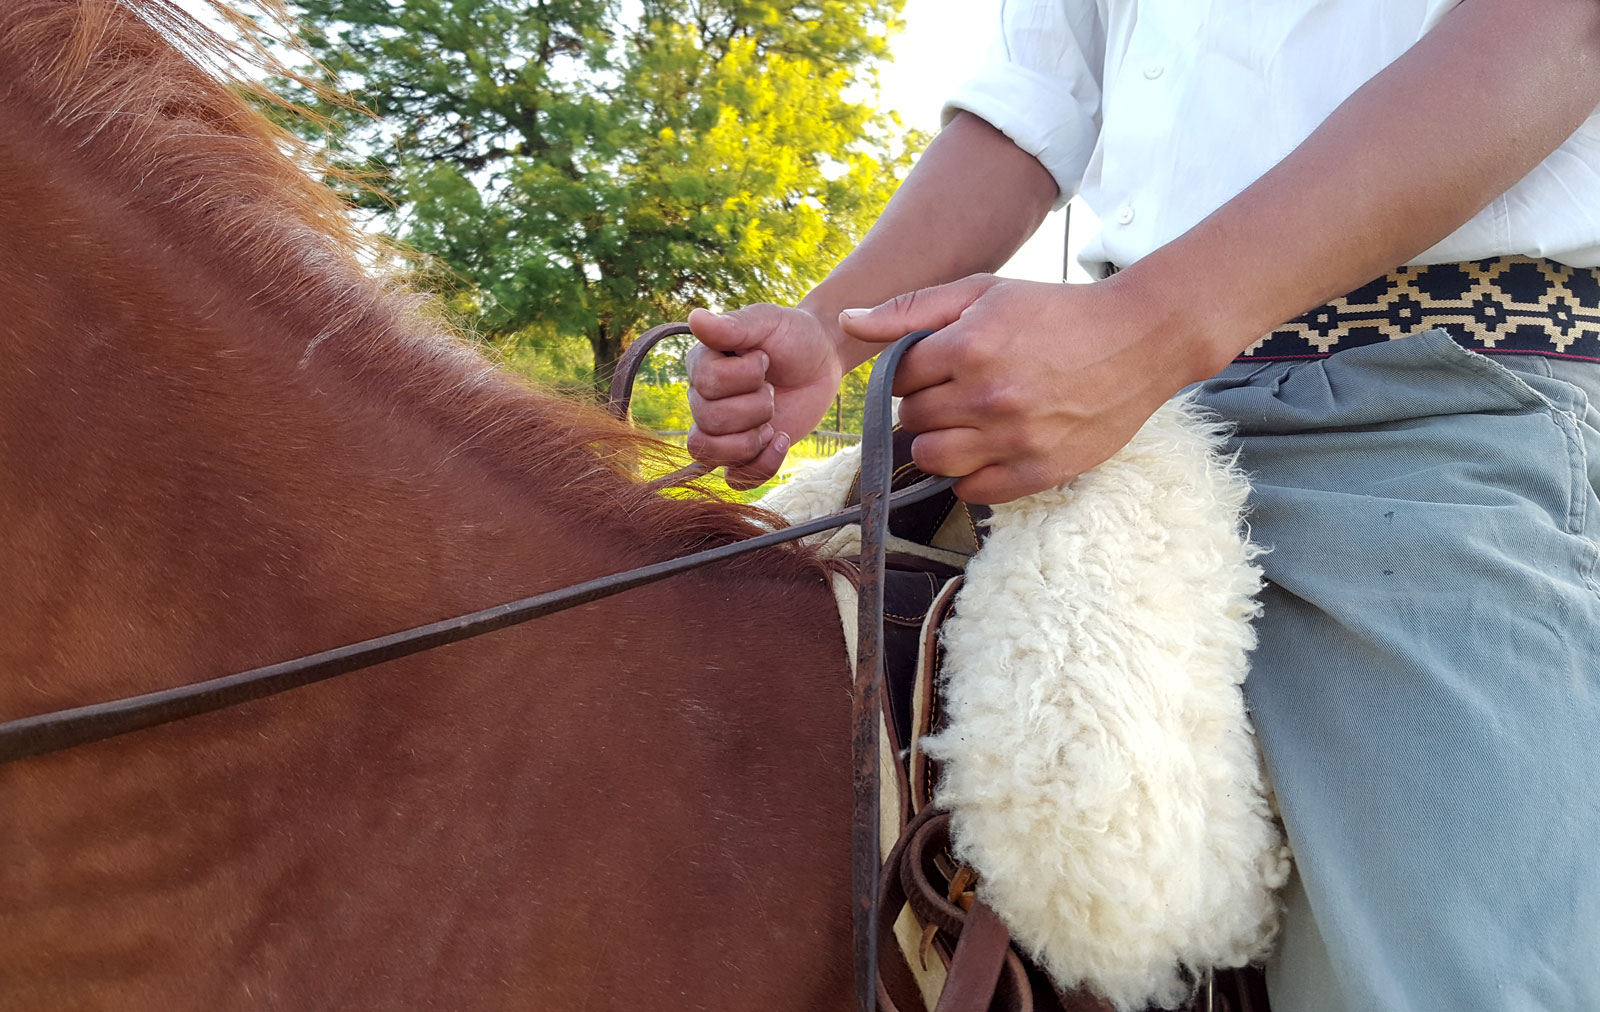
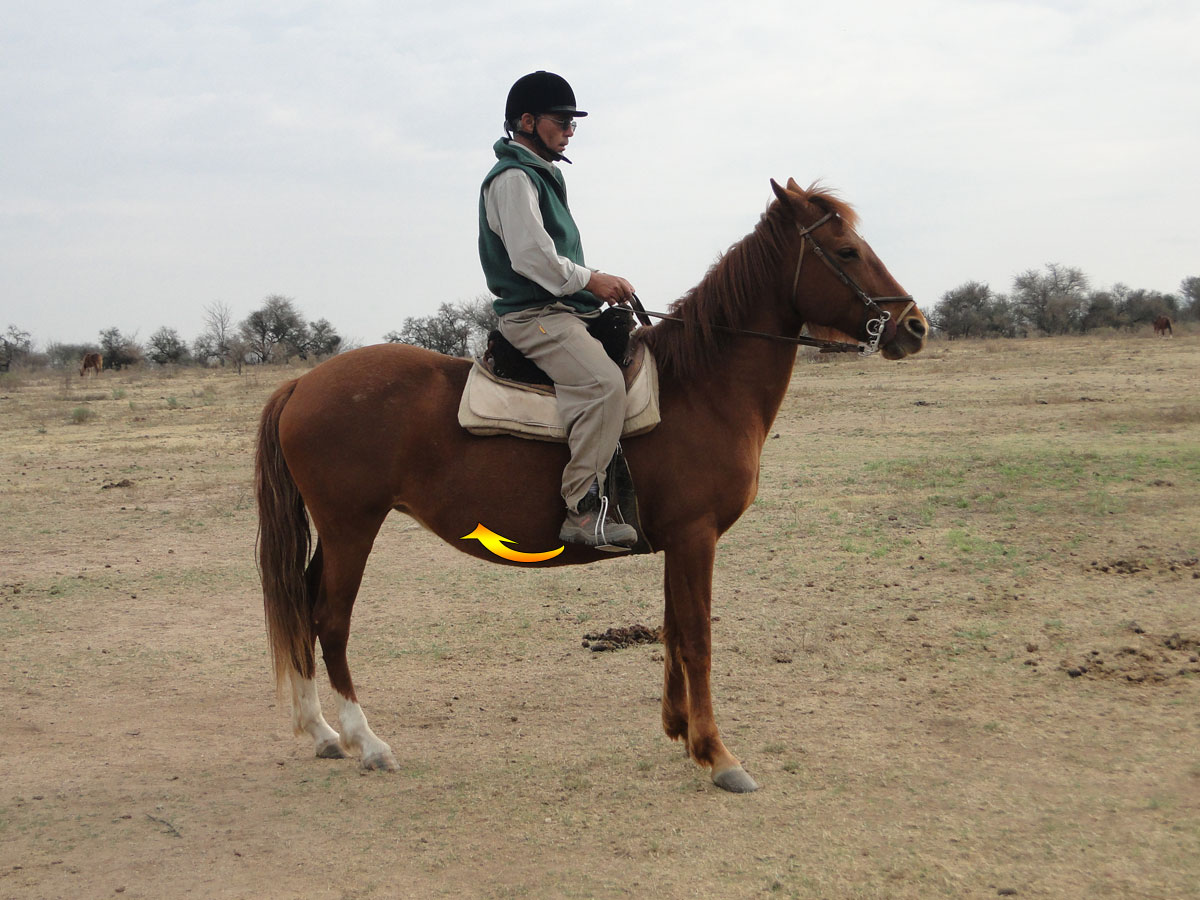
In our case we have a correctly trained horse and we have the help of the instructor, so we begin to press our leg from the knee downwards, that is to say the calf and the heel of the boot, a little behind the girth.
When the horse starts to move, in response to the signal to press on the leg, we will always be looking to increase the speed of the forward movement and we must loosen the pressure when the horse starts to move forward, maintaining only slight contact with the legs. The gait will be a slow walk in the air. Then we will see how to increase the speed of the horse's forward movement.
Although you can later learn to initiate the gait with your seat on the saddle, we believe that you should first learn to move forward with leg and heel pressure.
Stopping the ride
Once we are riding at a slow pace (5 to 6 km/h), we start to learn how to give the signals to stop. To do this, we must close the fists that hold each rein a little (classic riding) and begin to pull back, trying to maintain pressure on the bit until the horse stops moving.
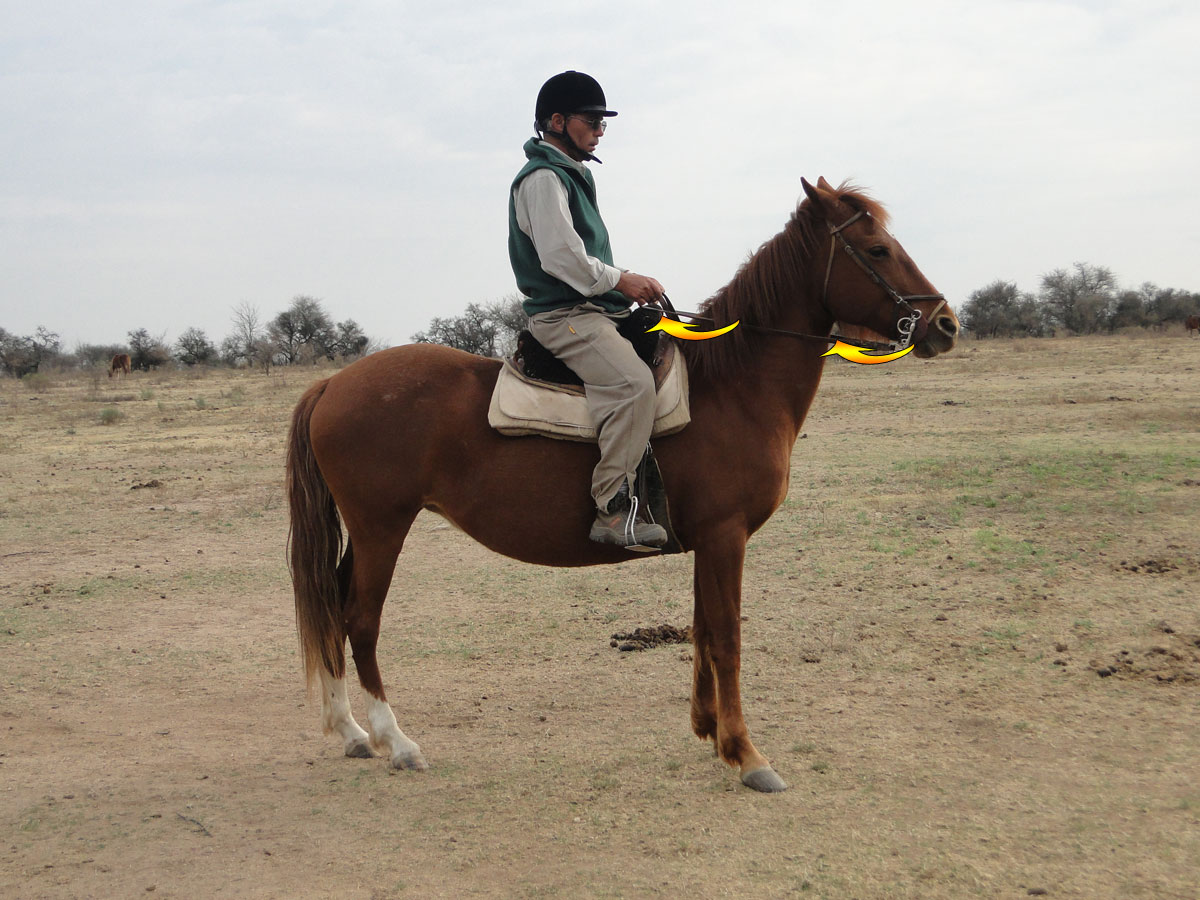
From the moment we begin to gradually increase the pressure until the horse stops, we should not take more than three steps. When the horse stops, we must immediately loosen the pressure on the reins to avoid confusing the horse.
The more we practice this technique, the better we will be at stopping. Here too, we prefer the signal to come directly from the rein and not to be mixed with signals from the seat. You will learn that later.
Turning with the horse
There are two ways to learn to turn with the horse. One uses the reins, one in each hand, and the turning action is done by handling both reins. The other is done by using the reins in one hand and giving the turn signal with the support of the rein on the neck.
We are going to use the first method, which corresponds to classical riding. We start by riding forwards and decide, for example, to make a 90º turn, to do this we do:
- Hold a rein in each hand, a few centimeters in front of the saddle and a little higher up. To make a turn to the left, press the left rein slightly backwards with your left hand, pressing but never pulling, while keeping firm contact with the rein with your right hand so that the horse does not bend its neck too much in the direction of the turn.
- The horse will begin the turn by crossing one hand over the other, twisting its back. The reins should not be loose or tight and you should remain upright without leaning in the direction of the turn.
- As the turn is made, you should loosen the rein that you pressed to turn, so that the pressure on both reins is equal, and you continue with this equal rein contact until you decide to turn again or to stop. Remember that as you practice you will improve your technique.
- Again, here we want you to learn to turn using only the reins. Do not use other aids such as the inside leg of the turn or the seat. You will learn that later when you perfect the technique.
5. INCREASE THE SPEED OF WALK: TROTTING AND GALLOPING
So far we have learned several things, from sitting in the saddle on the horse, to starting to walk at a walk (slow speed) and stopping.
As your confidence increases, we will start to ask the horse to increase the speed of the walk and thus the horse will begin to trot. We must learn to maintain our balance and move our body to the rhythm of the horse's movement, in this trot gait.
If we continue to ask for an increase in the speed of walking while we are trotting, the horse will begin to gallop and we must balance ourselves with the horse and accompany this gait. Of course, you will learn this with practice and guidance from your instructor, the way to do it is without pressure, because learning to ride a horse should be fun, not torturous.
Walking at a trot
When a horse walks at a trot it has a rhythm of two beats, in one beat it rises and pushes off (raising the right hind leg with the left front leg) and in the other beat these two legs simultaneously come down to the ground.
In this way, the horse's center of gravity moves up and forward, describing a sinusoidal wave in a vertical plane. This movement causes the rider's seat to be thrown upwards and then the rider himself falls onto the saddle in the downward phase of the movement.
Therefore, to learn to follow this movement you must concentrate on sitting with your back straight and relax your shoulders, hips and legs to deepen your seat in the saddle. You will start in a straight line walking at a safe pace, at which point you will begin to increase the pressure of your leg and heel, so that the horse, in order to increase speed, will begin to trot.
When this happens, you will immediately loosen the pressure of your legs, thus initiating the phase of the impulse that throws you upwards, a situation that you must try to avoid and maintain your seat without letting go of it. Continue like this until the horse's legs touch the ground, at which point you should cushion the blow by moving your hips over the seat, which should remain in contact with the saddle, and start the two-beat cycle again.
It is very important to start to feel the rhythm of the horse's gait in order to adapt to it and thus begin to perfect this gait through practice.
This way of trying to follow the trot with your seat always close to the saddle is known as sitting trot. There is another way of trotting which is known as English or raised trotting, but you will learn that later, when you progress with your practice.
At first, trotting seems hard, but when you begin to synchronize your body with the rhythm of the horse's trot, you will find a comfortable way of riding for you and the horse.
There are other details to bear in mind when trotting, relating to your hands, shoulders, etc., but the most important thing is to pay attention to the rhythm in order to unload your body onto the seat when it pushes and also when it settles so that your body follows the movement of the horse's back, without leaving the saddle. In a couple of lessons you will get the hang of it.
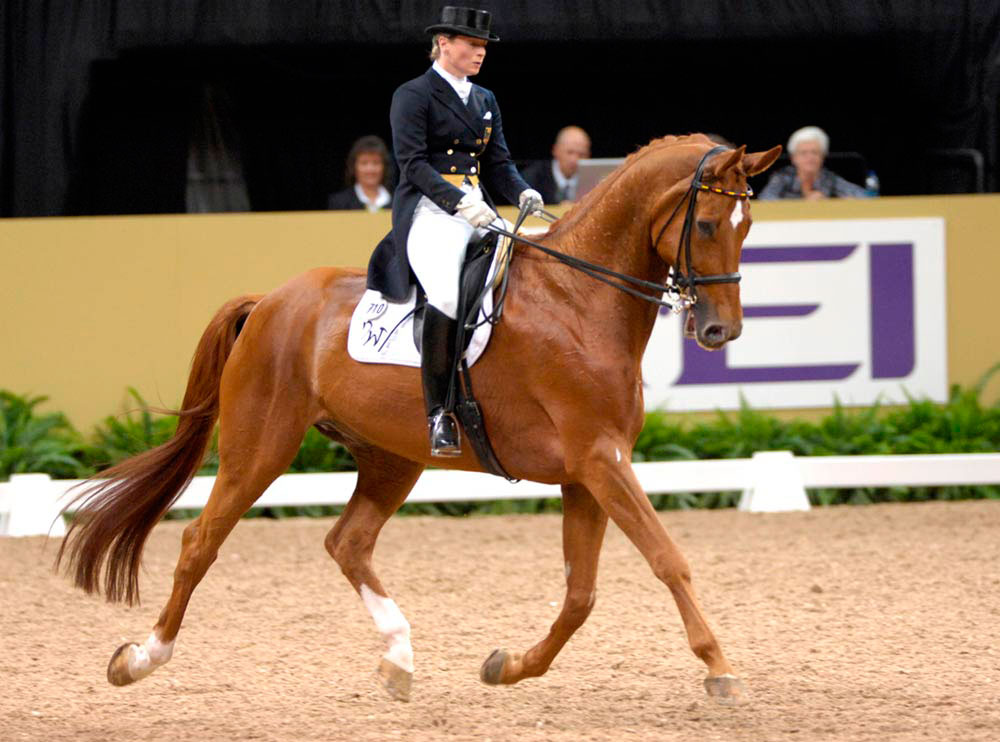
Galloping
Galloping is a three-beat gait, the first of which starts with the lifting of three of the horse's limbs, supported on the right hind leg (it can be on the left) with which it gives impetus so that in a second beat, the left hind leg and the right front leg are simultaneously supported on the ground and in a third beat, the left front leg is supported. In this case, if the horse starts with the right hind leg and ends the movement with the left front leg, it is said to be cantering to the left. This gait is faster than the trot and smoother.
We will first learn to canter in a straight line and for this you must be trotting in a straight direction in a safe manner, sitting well, back and shoulders straight and relaxed together with the legs and hips, with zero tension in these parts, you will begin to increase the pressure of your leg and heel on the horse that is trotting, who will respond, to increase speed, beginning to canter.
When you have given this response you must immediately loosen the pressure and always maintain the posture, avoiding leaning forward, you will try to accompany the movement and rhythm of the horse with your seat, preventing it from coming off the saddle.
In this way, galloping in the saddle without leaving the saddle, sweeping over it with your hips relaxed to follow the movement of the horse's back, you will begin to practice and learn to fly with the horse at a full gallop.
Of course, there are a number of details to bear in mind, such as how to use your legs so that the canter comes out on the left or right hand, questions about what to do with the reins and hand position, but you will learn this later.
We should mention that to go from trot to walk or from canter to trot, or from canter to walk, you do it with transitions that start by progressively and gently pulling on the reins until the horse slows down and changes gait, going down, for example from canter to trot or from trot to walk.
6. SAFE RIDING
Here we explain a series of concepts for safe riding for you and your horse, which do not refer to the ability to ride or lead a horse while it is walking, but which are important details to learn in a basic way.
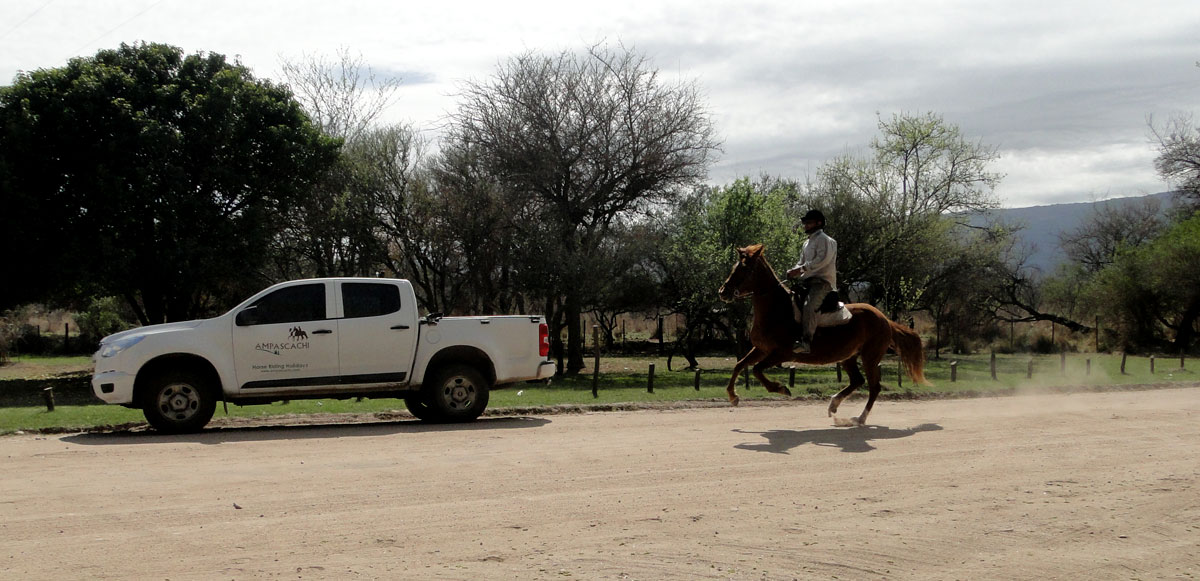
Group riding outings
It is important to remember that when we go out in a group on a trail ride or a country walk, we must be clear about the characteristics of the terrain, the number of hours we will be riding, the pace of the ride and the level of training of the riders and the dressage of the horses.
All these issues should be analyzed before setting off and establishing both the number of hours to be spent riding and the pace of the ride, depending on the least experienced riders in the group and the difficulties of the terrain.

Keep in mind that if beginner riders get tired they may lose their sense of balance and falls or accidents could occur, the same if they advance through complicated terrain.
Remember that we must always be alert while riding, as a horse can stumble and fall or can be startled, causing the horse to react with a sudden movement that, although it can be controlled by the rider, if it takes him or her by surprise could throw him or her out of the saddle. Maintaining a non-stressful attention, but with moderate alertness, helps to avoid accidents for riders and horses.
If your horse gets scared and makes an unexpected movement, try to maintain your balance in the saddle without hanging on to the reins or pressing on the horse with your legs. Use the stirrups and once you have stabilised your balance, control the horse by stopping it with the reins. Try to avoid roads with cars that might frighten your horse and always carry a phone to communicate.
When you return home and are close to it, slow down so that the horse relaxes and also so that it does not get into the habit of wanting to speed up when you are approaching the house or starting point of the ride.
Riding bareback
Once you have learned or practiced walking, trotting and cantering in the saddle, it is important to learn to ride bareback, as this will help you improve your balance and also to fully feel the movement of the horse's muscles whether walking, trotting or cantering.
Sometimes, many of us have learned to ride bareback before we did it with a saddle, especially if we did it as children or teenagers, but it is not the most advisable.

Preventing falls and protective equipment
The possibility of a fall is always present, so the following is recommended:
- Ride a horse that is well-broken and suited to your riding ability.
- Ride in areas that are not too complicated and are suited to your level of experience.
- Try to avoid places where the horse might be frightened, for example roads with traffic.
- Be attentive to the horse's behavior.
- Check that the girth is always properly adjusted and that the stirrups are the correct length.
In addition to the precautions indicated, it is important to have adequate safety equipment to minimize risks:
- Wear boots with a heel of at least 2.5 cm.
- Wear a helmet approved by the relevant body.
- If possible, wear an inflatable vest (air-bag type).
- Wear riding gloves, which provide a better grip on the reins and protect your hands.
- Learn how to dismount quickly or in an emergency and also how to perform an emergency stop.
Finally, we have finished by presenting the 6 basic principles to keep in mind when approaching horses and starting to learn to ride them.
It is a very brief introduction, but it will give you an idea of the basic concepts you should learn at the beginning, knowing that your success will depend on the time you can dedicate to practice, the possibilities and the level of your enthusiasm.
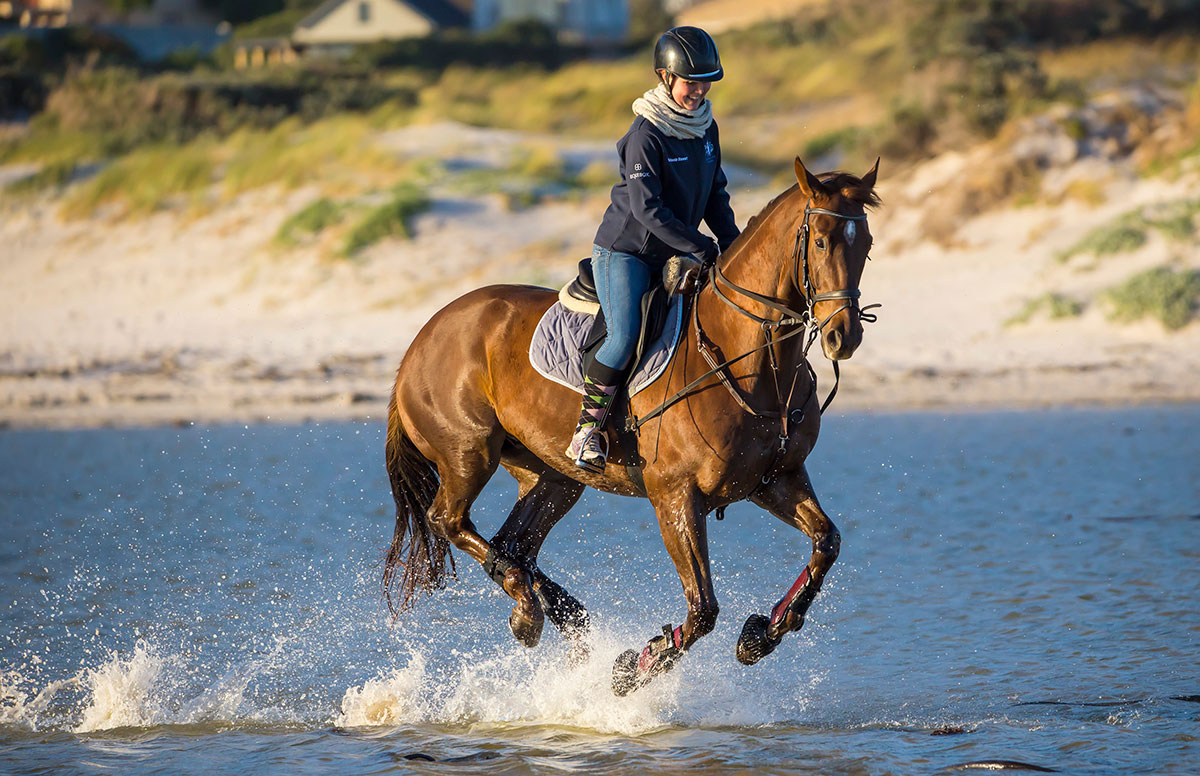
What we can confirm is that horses are magnificent and riding them is one of the most rewarding experiences for the spirit. It also helps you learn to control the stress of modern life, which accumulates in cities. Riding and going on horseback trails takes you out of your daily routine and connects you with nature.
If we have managed to inspire you, you can take the first step towards learning to ride. You will find more information about our program for beginners here: Learn to ride in the Traslasierra Valley
Comments (0)
No comments yet.


Comments
Leave your comment